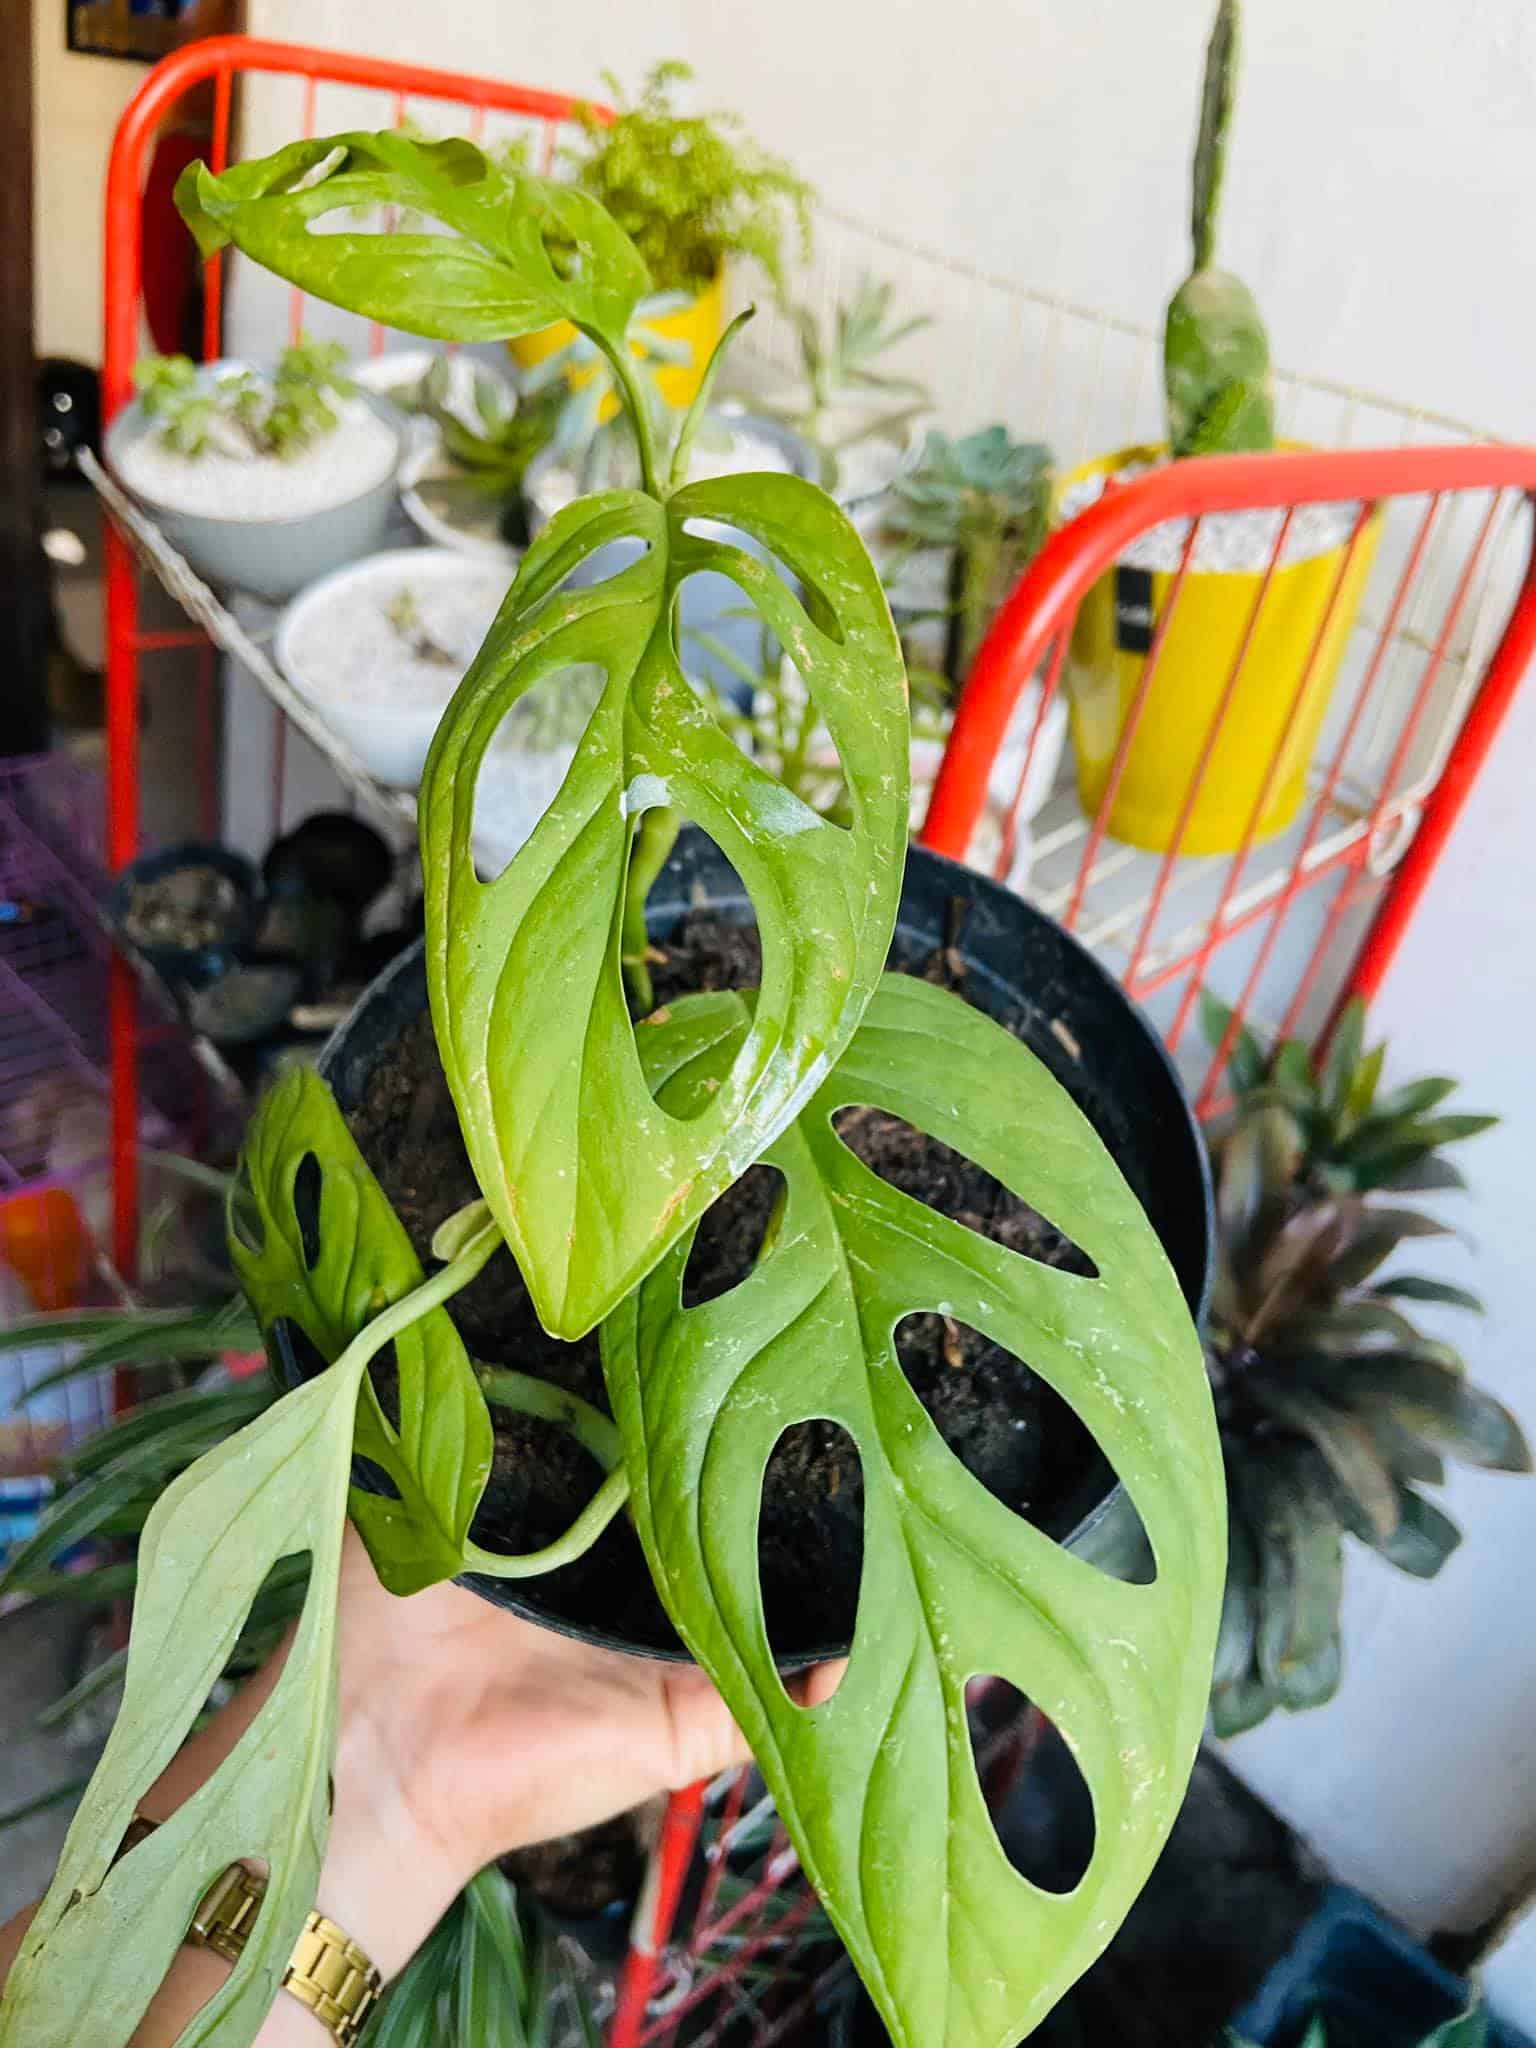
Monstera adansonii, the Swiss cheese plant or Adanson’s Monstera, can be propagated from seeds and vegetative methods such as cuttings, division, layering, grafting, and budding.
Read this article to the end if you want to know how to propagate Monstera adansonii. We will definitely help you to get a green thumb on propagation.
Table of Contents Show
Reasons to Propagate Monstera Adansonii
Propagation is an efficient method to create new cultivars and varieties of your existing Monstera.
As a plant lover, you might also have the below-mentioned reasons to propagate your Swiss Cheese Plant:
- Monstera adansonii propagates quickly and cost-effectively.
- Monstera adansonii has reached the decline stage.
- Your old plant is overgrowing and is more difficult to manage now.
- You have overfertilized your plant, and it’s incurring damage.
- Your plant is infested with pests and fungal diseases.
- If your Monstera adansonii’s roots are infected and rotting.
Throughout the process, it is essential to remember that propagation is how plants reproduce and continue surviving, so you should not harm the plant.
When to Propagate Monstera Adansonii?
The best time to propagate Monstera adansonii is during spring and summer.

These times are best because the plant grows in full fledge and can avoid going into stress.
Monstera adansonii cannot tolerate freezing winter and may succumb to such conditions.
During “not-so-freezing” conditions, you can continue the propagation process but may require extra resources to grow it.
Also, the best time to take cuttings for propagation is early in the morning when the natural rooting hormones of the plant are gathered at the tip of the plant.
However, propagation methods are similar for other Monstera varieties like Monstera deliciosa and Monstera Borsigiana.
How to Propagate Monstera Adansonii?
For propagating Monstera adansonii, you will need pruning shears, Monstera potting mix, and a transparent jar.
Follow the steps below if you are wondering how to propagate Monstera adansonii.
1. Taking a Monstera Adansonii Cutting
This is a crucial step during propagation. The success and failure of the propagation depend on how you take your cutting.
Take care of these things while making the cutting.
- Get the equipment mentioned above ready and sterilize them.
- Pick a healthy-looking stem from the mother plant.
- Cut 1/4 inch below the node but make sure to keep the node. That’s where the root will sprout from.
- Cut the stem precisely at an angle of 45° to ensure the maximum rooting area.
- Leave at least 3-4 leaves at the stem.
- Remove the leaves at the bottom part of the cutting.
2. Propagating Monstera Adansonii in Water
Placing it in water is the easiest and most effective way to propagate a Monstera cutting. Plus, you can witness the root’s growth as well!

Water propagation is decorative and comes with the added advantage of seeing the growth of the roots.
- Fill the glass case with water and place the cutting there.
- Place it in a location that has a room temperature and gets bright but indirect light. Direct sun can damage delicate cutting!
Sunlight requirements are similar for Pothos and Devil’s Ivy plants.
- Do not forget to change the water once every 1-2 weeks when it appears murky.
- You’ll start seeing the roots in a couple of weeks.
- Transfer the cutting to the soil once the root is 2-3 inches long.
If you like your plant’s looks in water, you can let it be there. Or, you can put your plant in a suitable pot after seeing the roots reach the suggested length.
Use soil that holds moisture and allows excess water to drain, like a mixture of potting soil with some perlite.
3. Propagating Monstera Adansonii in Soil
Monstera propagation in the soil means you skip the additional step of moving your cutting from water to soil.
But remember, this process is a bit slower. But the yield is more remarkable: A brand new Monstera plant!
- Choose a pot with suitable drainage holes and fill it with soil (a plastic nursery pot will work well).
- The soil should drain excess water quickly and stay lightly moist.
- Place the pot in a location with ample light and suitable heat and wait for results.
- As cuttings develop their roots before producing leaf growth, and the root is inside the mud, you’ll see no progress in this method.
- Hence, you can celebrate your success once you see the growth of the first leaf.
Remember that the leaves on your cutting can appear leggy. But it’s nothing to worry about. These cuttings cannot absorb water until their roots develop.
However, the propagation methods are similar for Monstera deliciosa as well.
Also, watch,
Choosing the Best Method for You
The above methods are all convenient and easy to follow.
However, if your plant is already flowering and has seeds, you should remember that these seeds die out quickly. Likewise, the seedlings take a long time to grow.
In addition, flowers can take up to a year to produce mature fruit.
Aside from short shelf life, the tiny pale green seeds cannot dry well or withstand cool temperatures. So, it’s not an efficient approach.
You can propagate it in normal water, or you can also propagate it on wet soil.
The key is to cut the stem, which has a node, and new roots start appearing within a week from the node.
Hopefully, this read helps you propagate Monstera adansonii; keep up with Plantscraze for more plant care and nurturing topics. We also have a topic on propagating mini-monsteras.
Comparatively,
- Roots sprouted in water propagation are thicker compared to that in soil propagation.
- If you propagate in water, the roots are whitish, whereas roots in soil propagation have yellowish-brown color.
- Roots in water propagation can survive waterlogging longer than roots in soil propagation.
- Water-propagated roots require less energy than soil-propagated roots.
Can you Propagate Montera Adansonii without a Node?
Did you make the ultimate blunder by breaking off/cutting a stem with no node?
Well, don’t worry; your cutting will survive, but you’ll have to pay the price for the blunder, won’t you? Place it in water or something if you want to decorate it.
But do not expect new growth from it. For new developments, plants require specific cells. And all of them are present in the node.
First of all, let’s understand what the nodes do. Nodes are an integral part of the plant where the petioles connect. They contain cells required for new growth.
If you get a Monstera with only a node but no leaf, you can grow a new plant out of it but trust me; the growth will be painfully slow.
Tips to Care for Monstera Adansonii after Propagation
After successfully propagating your plant, you must take good care of it to let it grow into a full-fledged plant.
Follow the following tips to care for it properly.
- Place your newly propagated plant in a place with medium to bright indirect light. Somewhere near the east or west-facing window is good.
- Though the plant can tolerate a humidity level of 40%, avoid placing the plant in a place with less than 50% humidity.
- Monstera does best on temperature ranges between 60-80°F. If the temperature falls below 55°F, your plant will show signs of stress.
- Water every 8-9 days in summer and every two weeks in winter.
- Newly propagated adansonii may not require fertilizers to grow, but you can do a little feeding of balanced fertilizer once a month.
- Use grow lights when the light conditions cannot be met.

FAQ Regarding Monstera Adansonii
Is Monstera Adansonii easy to propagate?
Comparatively, propagating Monstera adansonii is easier than propagating other varieties of Monstera.
It has a pretty laid-out propagation need, and you will not be clueless during the process, given you follow the steps properly.
How long does it take to propagate Adansonii?
Depending on the propagation medium, i.e., soil or water, it takes a few weeks to three months to propagate Monstera adansonii.
To speed up, you can use rooting hormone on the cutting before planting them on water or soil.
From Editorial Team
Conclusion!
If careful with the propagation process, you may successfully propagate the plant.
Read the complete guide before embarking on the process to avoid messing up.
Also, focus on providing optimum conditions after propagating the plant to ensure the plant doesn’t die off.


