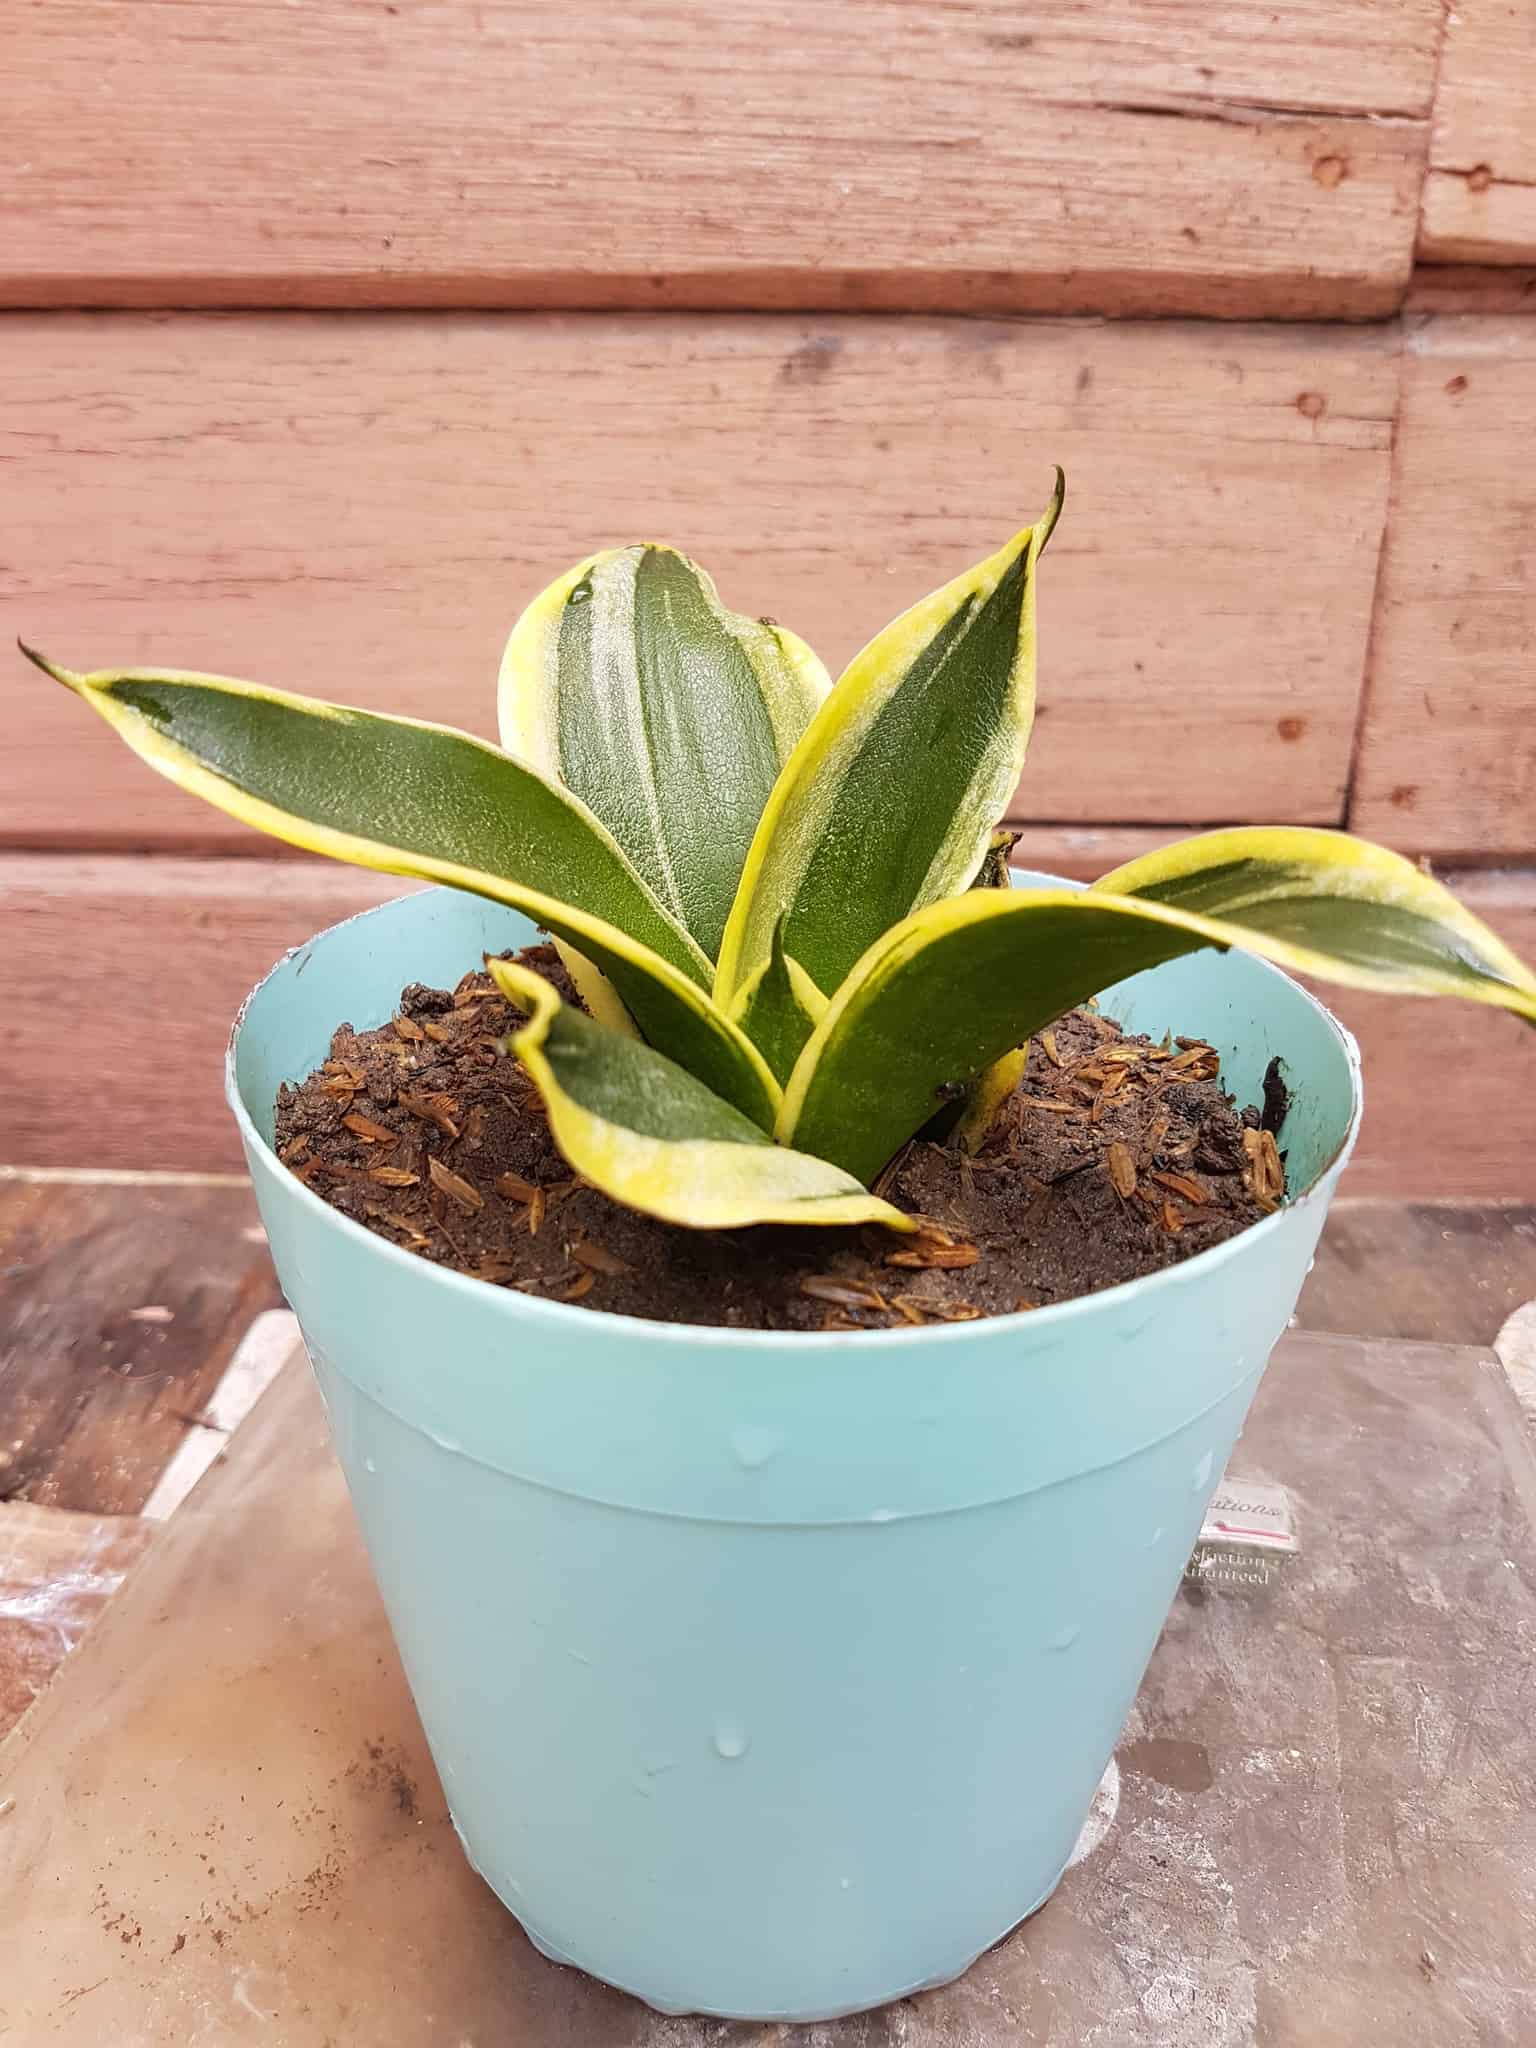
As a perfect decorative plant and an air-purifying plant for my home, I had to proceed with repotting my Snake plant during its distress hours.
Listen to this article here:
If you are confused about how to repot a Snake plant, read the article below.
Table of Contents Show
Signs that Snake Plant Needs Repotting
Generally, a Snake plant needs repotting every 2-5 years, which may depend on your plant’s growth.
But, during the plant’s care, you may encounter situations where you may need to make a quick decision on repotting it.

Be wary of the signs below to know when your Snake plant needs repotting.
- If you witness the roots poking out of the drainage holes
- When the water drains quickly after the watering session
- The soil on the top of the pot appears dry and cracked
- Your plant grows more slowly than its average speed
- The plant becomes too heavy for the pot to handle
If any of the above signs match, carefully remove the rootball from the pot and check them for rootbound.
Materials Required for Repotting Snake Plant
To repot the Snake plant, you will need a well-draining, porous soil that provides good airflow.
You can throw in an equal proportion of coco peat and organic compost for better growth.
Also, you will need a terracotta, plastic, or ceramic pot at least an inch bigger than your current pot.
Gather other required materials like trowels, scissors, watering can, and gardening gloves.
How to Repot a Snake Plant? [Step by Step]
Let me take you through the steps on how to Repot a Snake plant.
Step 1. Choose a Larger Pot
Snake plant requires a more prominent growth area as it grows more extensively.
So, choose a pot that is deeper and wider. Depending on the size of the plant, we recommend giving an extra inch.
Step 2. Soak the New Pot in Water
If you use the terracotta pot, soak it in water for a few hours.
By doing so, you refrain the pot from taking the moisture from the plant. You can also use other kinds of pots.
Step 3. Make a Drainage Hole
You must make a drainage hole to seep excess water from the pot. It does not allow water to pool in the bottom and prevents roots from fungus, bacteria, and root rot.
If your pot already has enough drainage holes, you are golden.
Step 4. Cover the Drainage Hole
You need to cover the drainage hole so that the soil does not wash out through the hole.
We can use whatever is available to cover the drainage hole, such as gravel, pebbles, stones, or porous material like coffee filters.
Step 5. Remove Snake Plant from the Old Pot
Water the plant and slowly remove it from the previous pot by turning it upside down.
It would be helpful to wet the soil first, as moist soil is easier to remove from the pot’s base.
Remove half of the potting soil from your pots first to determine if the plant is ready to be free of it.
Step 6. Trim and Untangle the Roots
Snake the plant wants to be a little root bound, so trim and untangle the roots carefully. You should remove outgrown roots from the core root ball.
Step 7. Place the Plant in a New Container
Put the plant upright in the center, press firmly, and add soil at the top. Then, water thoroughly.
Watch this video to get a better understanding of the repotting process.
Precautions While Repotting Snake Plant
Just after you finish following the step of ‘How to Repot a Snake Plant,’ follow the precautionary tips below to avoid spilling water over the repotting plan.
- Trim the roots carefully.
- Do not pull the plants from old pots.
- Maintain the proportion of materials while preparing soil mix for your Snake plant.
- Do not add fertilizers or other ingredients in excess, thinking it helps plants grow faster.
- Add an adequate amount of water on time.
- Do not keep plants in excess darkness.
Tips to Take Care of Snake Plant after Repotting
You can protect your plant from leaning, drooping, falling over, yellow, dried leaves after repotting by following the tips below:
- Wait for a few weeks after repotting to apply fertilizers and do it during summer.
- Water the plant 2-3 days after repotting and maintain a gap of about 12 days afterward.
- Place the pot in indirect light for at least six hours daily for ideal growth.
- Avoid placing the pot in complete darkness and keep them away from direct sunlight at any cost.
In the End
The result of repotting is always positive if your Snake plant is healthy and thriving.
Remember that too much moisture can cause root rot in your plant, so don’t let it remain in oversaturated soil.
Good luck with the repotting!
2 comments
There are some steps to repot a snake plant. Step 1: prepare your tools and remove the snake plant from the pot. Step 2: prune the roots of the snake plant step 3: loosen the soil inside the root ball and cut the pups. Step 4: fill the pot with a potting mix. Step 5: replant the snake plant. Step 6: water and place them in a bright covered area without direct sunlight.
Thank you for summarizing the content of our article. Keep reading our articles and provide your valuable feedback.