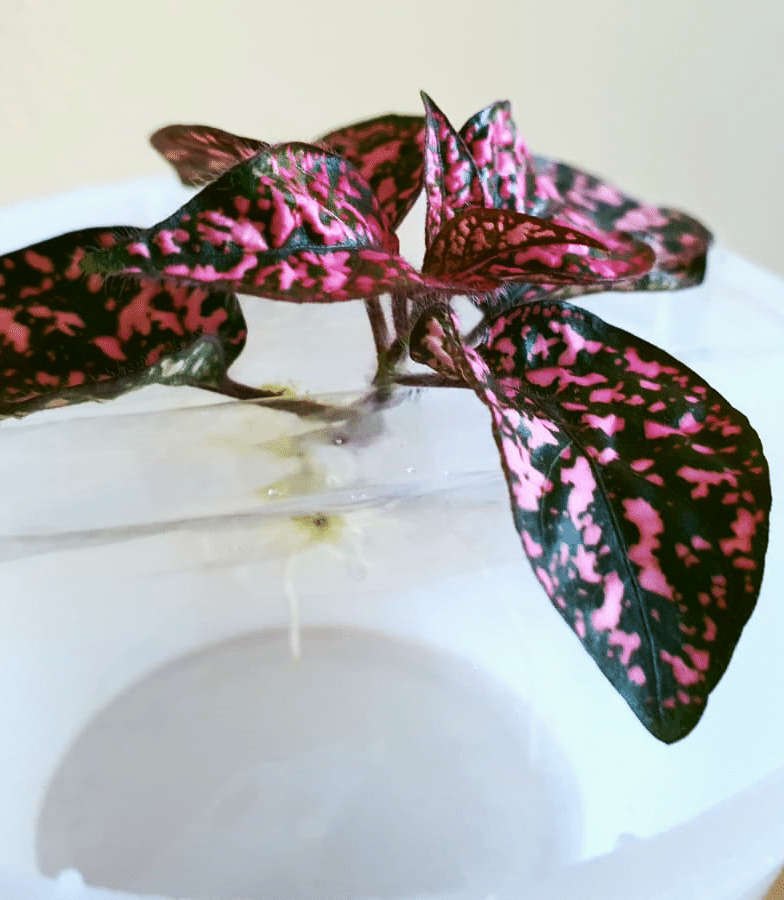
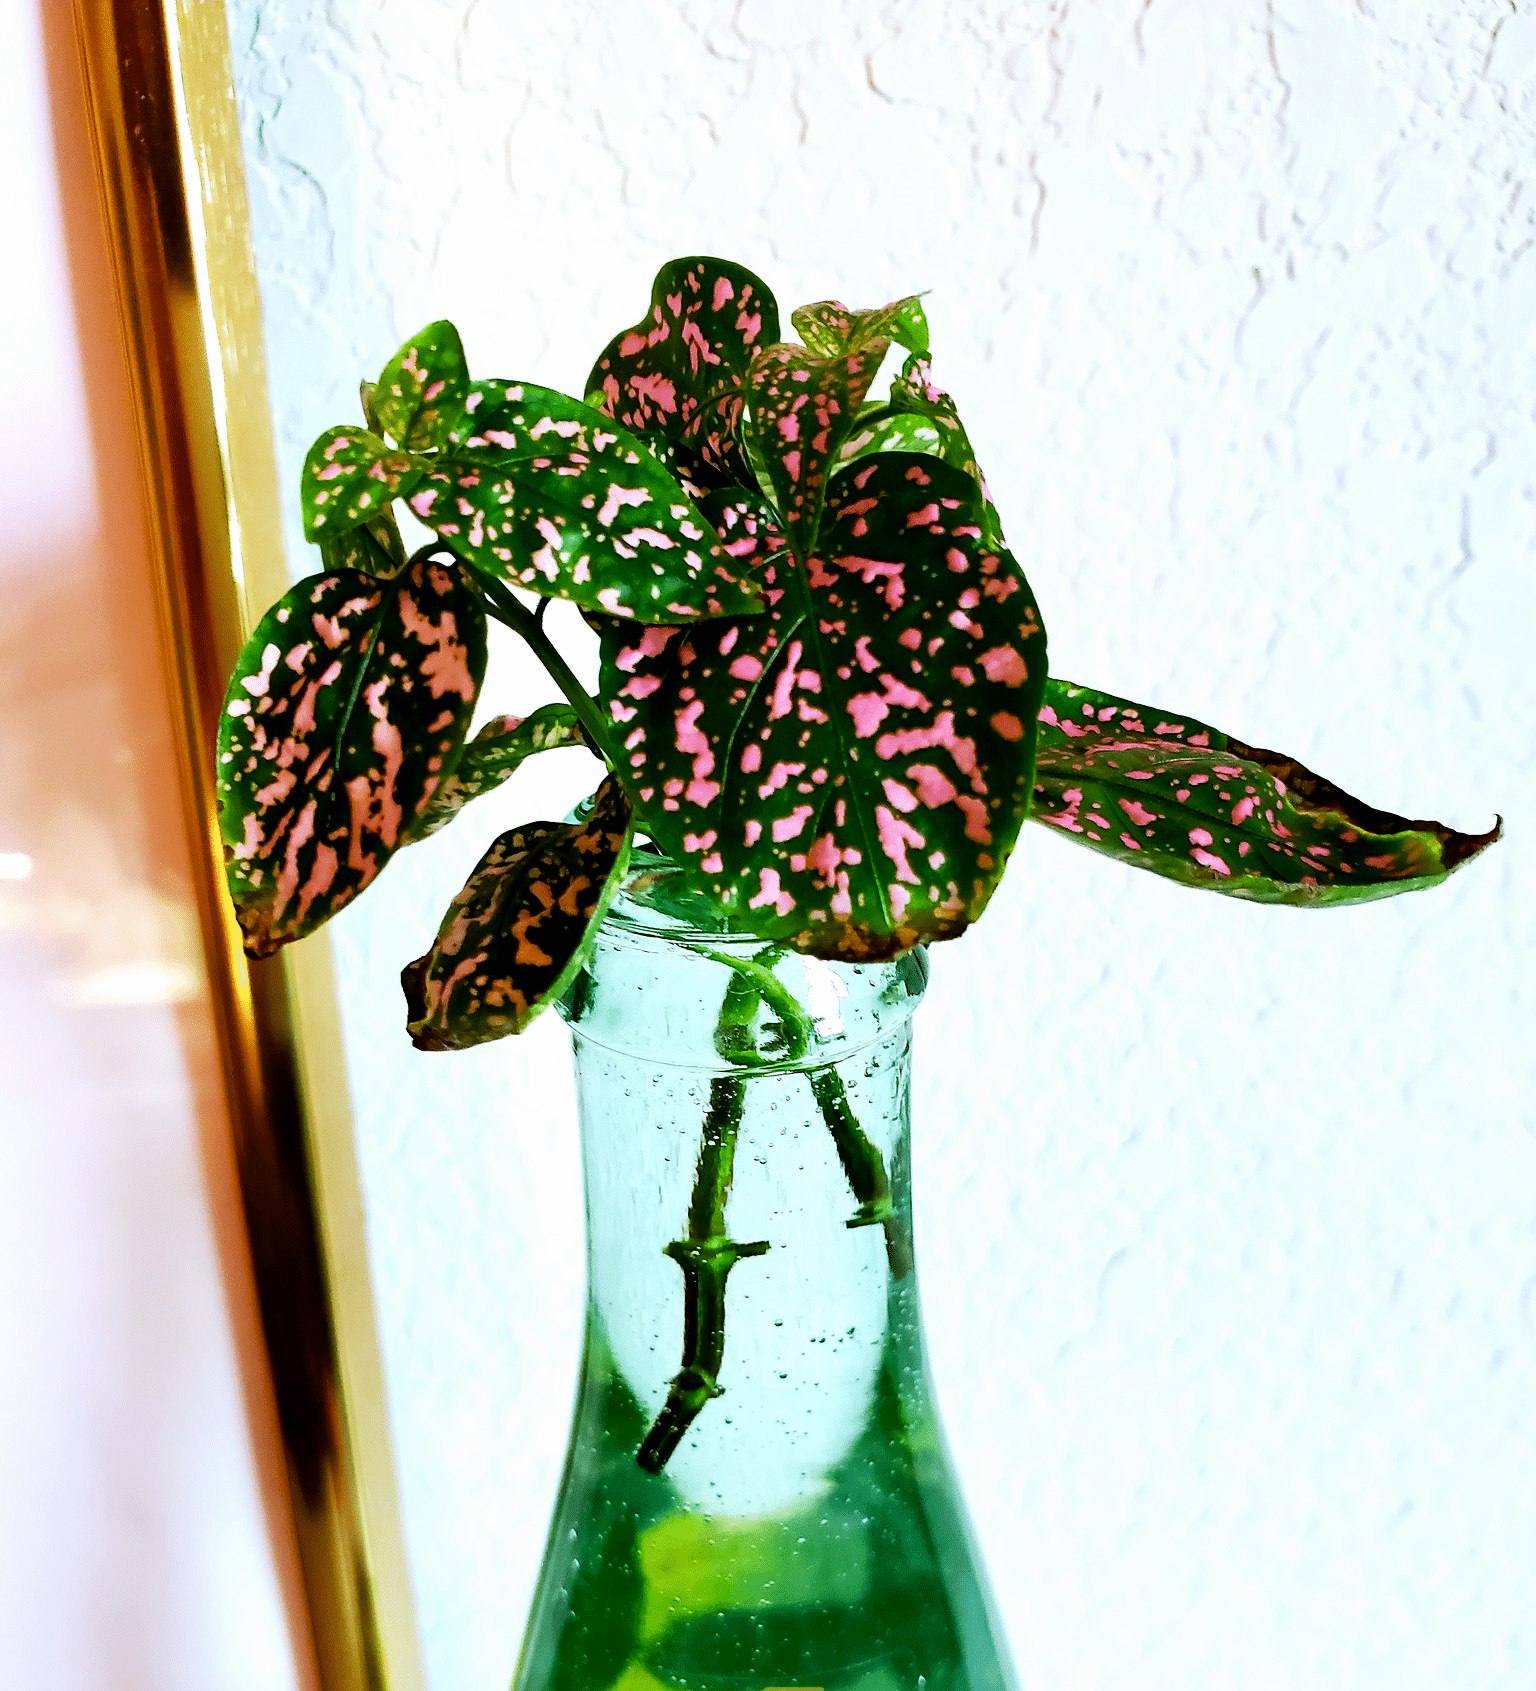
The Polka Dot is an eye catchy little, air-purifying plant that you can propagate easily at home with a few easy steps.
You can salvage the Polka Dot plant from pests or fungal infections via proper propagation steps.
Thus, read till the end to learn the most efficient ways to propagate Polka Dot Plant.
Table of Contents Show
When to Propagate Polka Dot Plant?
Polka Dot plants can be propagated throughout the year, but spring and summer are more suitable for optimal results.
Moreover, the propagated plants in a conducive season will be able to establish themselves much faster in the soil.

On the other hand, refrain from propagating Polka Dot plants in winter, late fall, or flowering to avoid stressing the plant.
Remember, propagating Polka Dot is never too late until the weather stays above 55°F for a few weeks.
Furthermore, springtime promotes green and flexible stems that contain softwood. They are easy to cut and root pretty rapidly in a few weeks.
Pro Tip: Propagate the Polka Dot plant in the early morning or in the late afternoon in the active growing season for optimal results.
Can You Propagate Polka Dot Plant in Autumn or Winter?
Like any other houseplant, the Polka Dot plant also goes through dormancy in winter.
Thus, avoid propagating the Polka Dot plant in late fall or winter, as it will have difficulty establishing itself in a new home.
Likewise, propagating the Polka Dot plant in late summer or autumn can be too late, as fresh cuttings enter dormancy without firm growth.
How to Propagate Polka Dot Plant?
The stem-cutting approach is the best propagation method for the Polka Dot plant as it is easy with the most successful results.
However, you can propagate the Polka Dot plant via seeds as well, but it is relevantly tough and takes longer.
1. Propagation via Stem Cuttings
Thoroughly inspect the plant for a healthy set of green stems with a few nodes for propagation.
Remember, a stem cutting without any nodes will fail to produce new roots, so you must ensure the cutting has a node.
- Identify the node, i.e., a bump on the stem and cut just below the node leaving at least a two-inch long stem.
- Ensure the plant cutting has at least two healthy leaves on top, and remove any other lower leaves.
- Otherwise, nip the leggy parts of the adult plant and use them for propagation instead.
After taking out the cutting, they are ready for rooting. You can root stem cutting in water or soil.
Rooting Stem Cutting in Soil
The snipped cutting can be directly sown in the well-draining potting medium.
- Apply rooting hormone and liquid-based fungicide to the cut ends using a spoon.
- Fill a small pot with cacti mix or perlite-based potting soil.
- Ensure that the container has drainage holes underneath to let out excess water.
- Carefully plant the stem cuttings into the soil.
- Thoroughly water the potting medium to keep the soil moist but not soggy.
- Place the cutting in a warm location (70°F) with indirect sunlight.
The feeder roots will begin growing within the next two weeks, and sadly, while rooting in the soil, you can not observe the new growth.
Pro Tip: Cover the stem cutting inside a clear plastic storage box or bag to create a humid and warm environment as in a greenhouse.
Rooting Stem Cutting in Water
In contrast to soil, rooting in water allows you to notice gradual new root development on the plant cutting.
The process is known as hydroponics, where you directly place the cutting in nutrient-rich water.
- Fill a small jar or glass with clean tepid, or distilled water.
- Submerge the cutting in the water with at least one node inside.

- Ensure none of the leaves is touching or submerged in the water.
- Place the jar near the warm windows with ample indirect sunlight.
- Replace the water once a week to get rid of gunk buildup.
Within a month, you can witness new young feeder roots sprouting from the stem nodes.
Once the roots have grown at least two inches long, you can transplant the cutting in a pot with a well-draining soil mix.
2. Propagation via Seeds
Growing Polka Dot plants via seeds is another approach to getting multiple plants.
However, remember that germinating seedlings can be challenging for novice growers.
- Get a fresh packet of Polka Dot seeds from the nursery or store.
- Otherwise, collect the seeds from the blossomed plant and allow the seed heads to dry out.
- Prepare a well-draining seed starter soil mix and use it to fill a germination tray.
- Sow the seeds below the soil surface in early spring or 4-6 weeks before the frost season has passed.
- Ensure the seeds are at least 1-2 inches apart.
- Thoroughly water the soil mix and let it sit in a warm place with temperatures of 70°F to 75° F.
- Cover the kit with clear plastic to trap heat and moisture inside.
- When grown indoors, consider using appropriate grow light with full-spectrum lighting.
Voila! Given adequate conducive germination conditions, the seedlings will begin to germinate within the next four days or in a week.
Once the seedlings have a couple of legit sturdy leaves, consider transplanting them into a pot in late spring.
Polka Dot Care for Newly Potted Plants
After propagation, juvenile Polka Dot plants require extensive care to flourish, so watch out and ensure to provide ideal Polka Dot care.
- Indirect Bright Sunlight: Keep the plant a few feet away from an east window, ensuring 1-2 hours of morning sun and 8-10 hours of filtered sunlight.
- Warm Temperature: Maintain between 70°F and 80°F during the day and 65°F during the night.
- Moderate Humidity: Use a pebble tray underneath the plant pot to maintain humidity above 50%.
- Regular Watering: Aim to water once or twice a week in the active growing season and every fortnight in winter.
- Monthly Fertilization: Use diluted general fertilizer once a month to promote even growth but avoid fertilization on the first month of propagation.
- Judicial Pruning: Pinch or snip off the top two leaves on the end of the stem every week once the plant becomes bushy and remove leggy growth during the growing season.
FAQs About Polka Dot Plant Propagation
What is the best way to propagate a pink Polka Dot plant?
Stem cutting is the best way to propagate all Polka Dot plants regardless of their variety, and usually takes a week or two.
How do you make a Polka Dot plant bushier?
Regular pinching off, judicial prompt pruning and a little push from nitrous fertilizer will make a Polka Dot plant bushier.
From Editorial Team
Division for Bigger Mother Polka Dots!
You can opt for the division method if your Polka Dot is bushy and multiple ones are growing altogether.
To divide, carefully detangle the roots and separate the roots with each plant stem and then plant each into an individual pot.
All The Best!


