Philodendron Selloum is a fantastic houseplant known for its beautiful big-lobed leaves that suck pollutants from the air.
Thus, do not let this amazing plant go to waste, but propagate them every year to multiply their numbers.
As a general rule, to propagate Philodendron selloum cut stems containing two or three leaves just above the nodule or a stem with healthy roots and pots them in water or soil for rooting.
Bingo! The new cuttings will produce healthy roots within a month and are ready to be transplanted to various containers.
Read on if you wish to know more about the cost-effective ways to get more Philodendron sellouts for your home.
Table of Contents Show
How do I Know if my Philodendron Selloum is Ready to Propagate?
Philodendron Selloum is ready for propagation whenever it matures. You would know this by the size of its leaves, spanning 3-feet.
However, it may take years above it can produce large leaves. The plant reaches its full maturity in 10 or more years.
Your best bet is to wait until repotting or next spring when the plant is actively growing.
Here are a few factors you should consider before deciding to propagate this plant.
1. Healthy Growth
A healthy Selloum looks complete with lush, green foliage. Whatever the size you choose to keep it in, it will continue to give out big leaves overhanging from stems.
When the growing condition is optimum, the Stem and leaves will grow exponentially and retain a waxier texture.
Researchers at Colorado State University state that the large leaves are more efficient in cleaning toxins from the air to increase the oxygen level.
This would indicate the suitable condition to mint the plant stems for multiplication. The stems from a healthy plant are more likely to root successfully, offering multiple plants quickly.
Keep an eye out for yellowing, browning foliage, or crispy brown spots on leaves that may indicate watering and lighting problems.

On the other hand, stunted growth indicates either a root-bound condition or root rot.
The correct measure would be to revert the plant to its healthy stage before propagating.
Otherwise, salvage the healthy stems for immediate propagation when the plant is severely ill or dying from root rot.
2. Rootbound Condition
A Philodendron selloum is a reasonably quick-growing plant, but its roots would take a while to outgrow the pot.
They may take a few years to outgrow their container. The aerial roots are pretty small and slow to grow.
While selloums can tolerate slightly root-bound conditions, they hate being restricted to a small pot.

Therefore, you should repot them in a larger container (2-inches) every two years. It would be the best time to cut back the plant and use the salvaged stems for propagations.
Check the bottom of the pot for root-choked drainage holes that indicate severe root-bound conditions.
Ensure to transplant them in early spring, just before the active growing period but winter when the plant goes into dormancy.
Propagating the cuttings in spring ensures quicker feeder root growth and healthy new plants.
3. Maturity Stage
A single Selloum plant can grow up to 8-10 feet tall when provided with the optimum growing condition.
These houseplants extend over fifteen years, where some wild Selloum survive over 100-years in their natural tropical habitat.
An early indication of a mature plant is the overhanging leaves spanning over 3-feet with shiny, dark green foliage and deeply lobed texture.

A mature plant grows a trunk but stays hidden under the lush foliage. Look for stems with only two or three leaf nodes when propagating a mature plant.
Quick Tip: Avoid propagating leggy stems that are severely light deprived.
4. Root Rot Condition
Although rare, the Philodendron selloum may suffer from root rot due to moist soil conditions. The early signs include yellow, brown leaves that eventually fall off.
The root will turn mushy and brown with wilted and stunted growth, even during the active growing season.
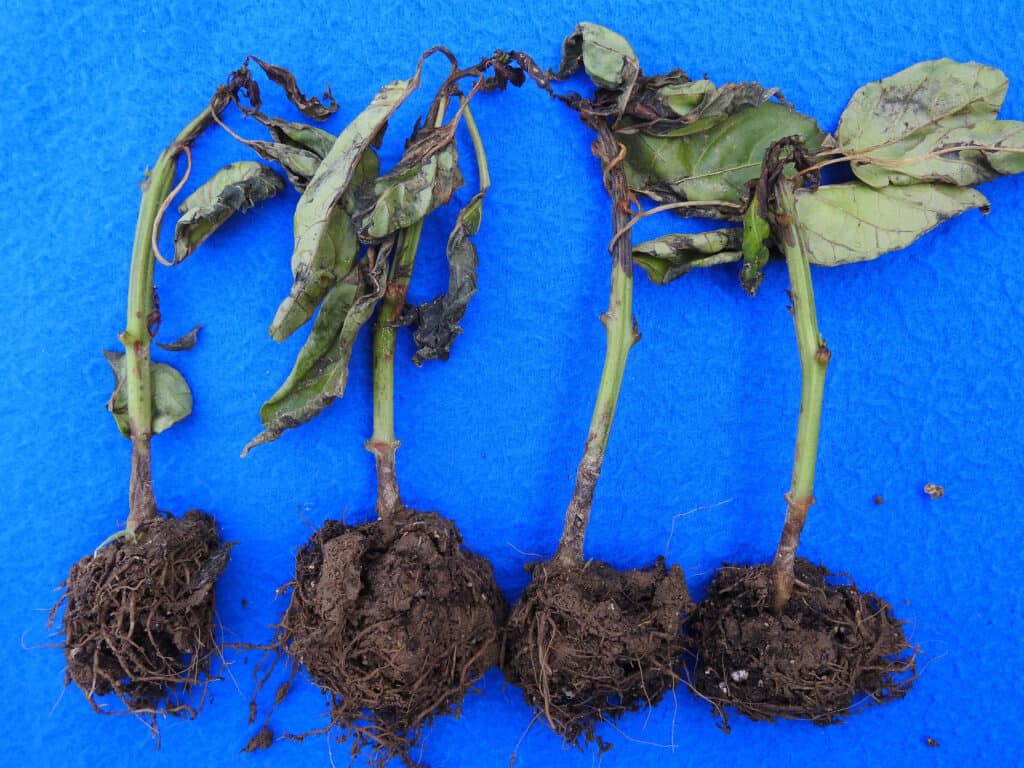
After early signs, the best measure would be to inspect the plant for root rot abrupt treatment with hydrogen peroxide.
However, the severely infected plant would require root pruning and repot in fresh soil or propagation.
Remove a few stems with healthy roots intact, clean them with fungicide, and grow them in a potting mix to propagate a dying plant successfully.
Materials Required to Cut and Propagate Philodendron Selloum
Arrange the right tools and materials before cutting and propagating the Philodendron Selloum.
Here is the list of items required to cut and propagate the cuttings.
| Item | Purpose |
|---|---|
| Pruning shear/ Propagation knife | To cut through stems, leaves, and roots |
| Ethanol or 98% Alcohol | To sterilize the equipment before and after use |
| Potting mix | A homemade or packaged potting mix appropriate for aroid plants. |
| Clean, room temperature water | For water propagation |
| 500 ml transparent glass vase | For water propagation |
Where to Cut Philodendron Selloum for Propagation?
Propagating a trailing Philodendron Selloum into more plants is super easy.
All you need is to cut a healthy stem with a few leaf nodes and root it on a proper medium.
1. Stem Cuttings
Here is a step-by-step guide to achieving perfectly cut stems for propagation.
Step 1: Prepare the Stem
- Water the plant a few days before to ensure the stems obtain fresh nutrients before cutting.
- Select a stem with numerous leaf nodules and a few leaves attached.
- Similarly, you can pick a few stems for multiple propagations to see more success.
Step 2: Decide Where to Make the Cut
- Choose where you will cut to get a healthy stem without damaging the plant.
- Use a sharp knife or pruner to cut a Stem 3-6 inches long just above another leaf on the branch.
- It will prevent damaging the rest of the plant.
Step 3: Prepare the Cuttings
- Snip almost all the leaves from your cutting except 2-3 leaves at the top.
- You can set the cutting aside for a few hours to allow the wound to thicken a bit.
- Follow the same step to prepare other stem cuttings.
2. Root Cutting
Alternatively, you can also use a healthy set of roots for propagation.
The roots naturally produce suckers (new roots) that do not require much after-care. However, getting a root without damaging a plant can be impossible.
Therefore, choose to cut the root in winter when the plant is dormant. Otherwise, choose root cutting only from the plant that will soon be disposed of.
One suffering from a root rot problem or disease will be more appropriate.

Here is a step-by-step to get root cuttings.
Step 1: Determine the Root Condition
- Consider assessing the root condition of the plant.
- Slide off the plant and wash the roots with clean water.
- Next, check for visible signs of decay, such as black and mushy roots, to separate the live roots.
- Select young pencil thick roots for propagation.
Step 2: Cut the Root
- Cut the root about the thickness of a pencil close to the crown sing a sharp pruner,
- However, ensure to remove less than one-third of the root to prevent damage to the plant.
- Discard thin roots and fibrous lateral roots (feeder roots).
Step 3: Prepare the Root
- The root must be prepared before propagating to witness higher chances of proliferation.
- Remove any decayed or damaged sections from the root.
- To prevent the onset of root rot problem, consider treating it with a fungicide before propagating.
- Let it rest for a few hours in a cool place.
How to Propagate Philodendron Selloum?
A Philodendron Selloum is propagated in multiple ways. Luckily, each method works well with equal success.
1. Propagating Stem Cuttings
First, let us look at propagating stem cuttings in the water and potting medium.
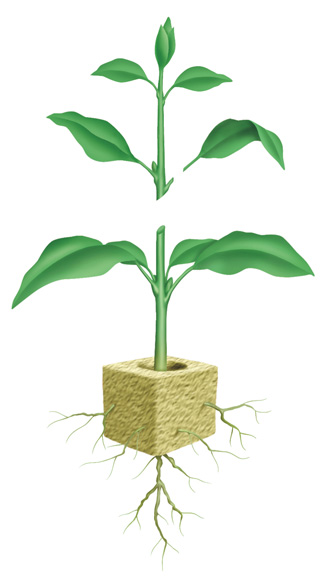
Propagating in Potting Mix
Here is a guided approach to propagate stem cutting in a potting mix.
- Once you get the fresh stem cuttings, consider applying some rooting hormone at the ends to boost the rooting process.
- Get an appropriate small-sized container to place the clippings. Ensure the pot is made from clay or terracotta and has enough drainage holes.
- Use a porous mix containing perlite, vermiculite, and orchid bark.
- Fill the potting mix into the container and moisten it by adding water.
- Next, place the clipping into the potting mix. Ensure the bottom node is immersed into the mix with top leaves outside.
- Place the pot in a bright, indirect sunlight setting. The rooting process requires a temperature of around 70°F (21°C).
- Ensure to keep the potting mix moist by watering it every few days.
- You would notice new growth in around two weeks. Let it rest for 1-2 weeks before moving them to a large pot.
- Prepare a potting mix rich in organic, well-draining material. Add 20% peat moss, 10% perlite or vermiculite, some coco coir, and orchid bark.
- Transplant the stem cuttings with fresh roots to a large pot and water it thoroughly to keep the soil moist.

Propagating in Water
Also known as Hydroponics, you can entirely root the stem cuttings in water.
Try this step-by-step guide to propagate Philodendron Selloum in water.
- Use a small jar/glass filled with clear, spring water or well water and submerge the cutting into it.
- Ensure the Stem with an end is immersed into the water while the top leaves remain outside.
- Place the freshly potted cuttings in bright, indirect sunlight with a warm surrounding.
- Replace the water every 3-4 days or when it slightly becomes dull.
- The Stem should start to root within ten days or two weeks. Check its progress to assess the healthy set of feeder roots.
- Transfer them to a potting mix once the feeder roots have grown at least an inch.
- Transplant the cutting into a more permanent container with appropriate potting mix for healthy, even growth.
2. Propagating Root Cuttings
First, let us look at propagating root cuttings in the water and potting medium.
Instead of propagating the roots in water, you can directly transplant them into the potting medium to provide optimum growing conditions from the beginning.
- Prepare the root by discarding thin root and fibrous lateral roots.
- Make a horizontal cut at the upper end and an angled cut at the lower back.
- Fill a small-sized pot (5-6″) with a proper potting mix containing equal parts of perlite, vermiculite, and peat moss.
- Top it off with organic compost or mulch.
- Gently insert the rooted cutting into the soil so that the horizontal cut lies just below the compost layer.
- Put a layer of grit on the top to prevent compost run-off.
- Water the pot lightly and keep it in an indirect sunlit spot.
- Depending on the time of the year, it may take four weeks or more to see the sign of growth.
- Once you see the growth, follow the regular maintenance schedule.

Note: You would have to wait until spring to see the new growth in case of cutting the root in winter.
Tips to Take Care of Newly Potted Plant
Ensure to provide an optimum growing condition to the newly potted plant to prevent transplant stress.
A tropical plant, Philodendron Selloum would require a growing condition similar to other tropical houseplants.
A healthy plant is more likely to exhibit signature wavy, high gloss leaves.
1. Location with Indirect Sunlight
Choose a spot that receives enough indirect sunlight throughout the day.
Philodendron Selloum prefers intense yet diffused light commonly found in an east-facing window.
If blocking the direct sunlight is not possible, consider covering the window with a thin curtain to offset bright light.

2. Watering Requirement
Philodendron Selloum prefers slightly moist soil that is not too wet.
Water your plant every week during the growing season and cut back on watering in winter to 15-20 days.
Ensure the top two inches of the potting mix have dried out between watering to prevent overwatering problems.
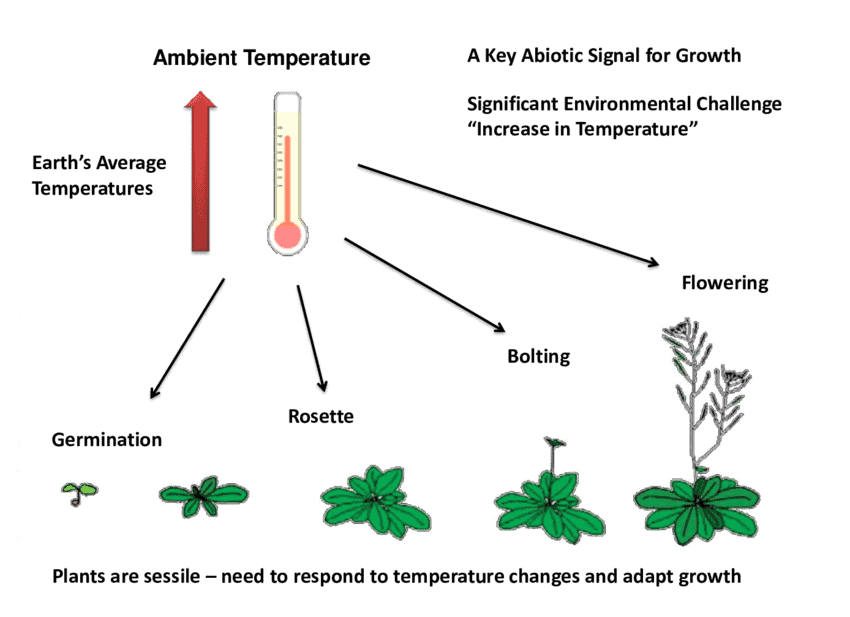
3. Ideal Temperature
Philodendron selloum prefers a warm temperature at all times for healthy growth.
Care to provide optimal temperature range between 70°F to 80°F (21°C to 26°C), with 85°F being the absolute maximum.
Similarly, prevent keeping the plant in cold conditions, below 55°F (12°C-13°C) to prevent cold stress.
Alternatively, you can use cold frames to protect your plant from cold stress.
4. Optimum Humidity
Philodendron Selloum prefers a humidity range between 60 and 65 percent, with a 55 percent minimum.
Use a room air humidifier to boost humidity during the growing season.
Alternatively, you can mist the plant leaves regularly in summer or keep them in a pebble tray filled with water.
5. Regular Fertilization
Although it does not require a lot of plant food, providing adequate fertilizer a few times a year can yield excellent results.
Fertilizer the plant once in 3-4 weeks during the growing season with a well-balanced fertilizer (NPK 20-20-20).
Liquid fertilizer is preferable since you can control the amount and when applied.
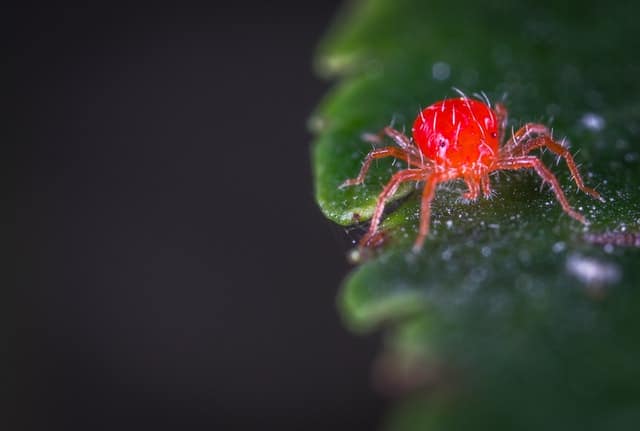
6. Control Pests
Philodendron Selloum is prone to some common houseplant pests.
Small bugs like mealybugs, scale, aphids, and spider mites are more prevalent in Selloum plants.
Try these methods to treat and prevent your plant from pests.
- Water, the plant with a hose, displace aphids, scales, and spider mites.
- Use a soap solution mixed with warm water to kill the pests effectively.
- Apply Neem oil to treat the plant with pests.
- Use less-harmful insecticides like pyrethrin or insecticidal soaps if you resort to chemical pest control methods.
- Use the aphid-free potting mix. Better buy a commercial blend.
- Immediately sterilize the pruning equipment before and after use.
- Stop bringing cuttings from the garden into the house.
7. Control Diseases
An excessively wet plant becomes a victim of various diseases.
Bacterial leaf spot, root rot, and leaf blight are common occurrences in a sick Selloum plant.
Try these methods to treat and prevent plant diseases.
- Immediately dispose of the plant with severe root rot condition.
- Soak the soil in a mixture of 2 parts water and 1 part hydrogen peroxide to treat slight root rot.
- Use Patch Pro to treat leaf spots.
- Alternatively, you can use Propiconazole, an active component, to treat leaf spots and blights.
- Prune the affected Stem and leaves, repot the plant in a fresh potting mix, and sterilize the pot before reusing.
- Avoid foliar spray to prevent wetting the leaves.
Read more about Providing Optimum Growing Conditions to Philodendron Selloum
Conclusion
Philodendron Selloum is an excellent plant to propagate for its signature big-lobed leaves that keep growing more prominent with age.
They are tremendously easy to care for and will repay you with their natural beauty around the year.
However, ensure to use the healthy Stem and root cutting for propagation that will guarantee significant successes.
Lastly, do not forget to provide optimum growing conditions to ensure proper after-care of the freshly propagated plant.
It’s so pleasing to see colorful plants around, one would love a chance at checking out the lovely and pricey Pink Princess Philodendron plant!

