Parlor Palm seeds are hardy, requiring conducive warmth with steady moist conditions to germinate.
Additionally, Parlor Palm seeds are hidden inside their fruits, and they take awfully long time to ripen!
Learn the ways for a punctual harvest of these seeds and set them for germination.
Table of Contents Show
Do Parlor Palm Have Seeds? [Overview]
Parlor Palm blooms from late winter to early spring with cup-shaped orange, red, or golden-yellow flowers along a paniculate flowering stem called “rachis.”

The fruits contain seeds, which are round and brownish-green when dry. Learn more about them from the table below.
| Feature(s) | Characteristic(s) |
|---|---|
| Diameter | 0.5 to 1 centimeter |
| Color | Brownish or grayish green |
| Shape | Round |
| Texture | Smooth |
| Weight (Per Seed) | 0.0045 gram |
| Blooming Period | Late winter to early spring |
| Inflorescence | Panicle Type |
| Fruit Color & Size | Black (0.5 to 1.5 centimeters) |
| Harvesting Season | Fall |
| Germination Temperature | 25°C to 30°C |
| Sowing Depth | 0.3 to 0.6 centimeter |
| Scarification | Soaking in cold water for 24 hours |
| Germination Time | 10 to 42 days |
Can You Grow A Parlor Palm From Seeds?
You must pry the ripe black Parlor Palm fruits for the seeds.
Seeds are one of the two methods to propagate Parlor Palms, the other being division.
Hence, fruit and seed collection is the most crucial aspect of forcing the plant to produce additional flowers.

Applying slow-releasing phosphorous-rich fertilizer every 3-4 weeks only during the flowering season significantly impacts bloom development.
How to Collect Parlor Palm Seeds?
Before extracting the seeds, examine the color of the flowering stem.
- Then, place a saucer or a clean cloth below the flowering stem to catch the fruits.
- Shake the flowering stem so that the ripe fruits fall below.
- You can also use pruning shears to cut the flowering stem with the fruits.
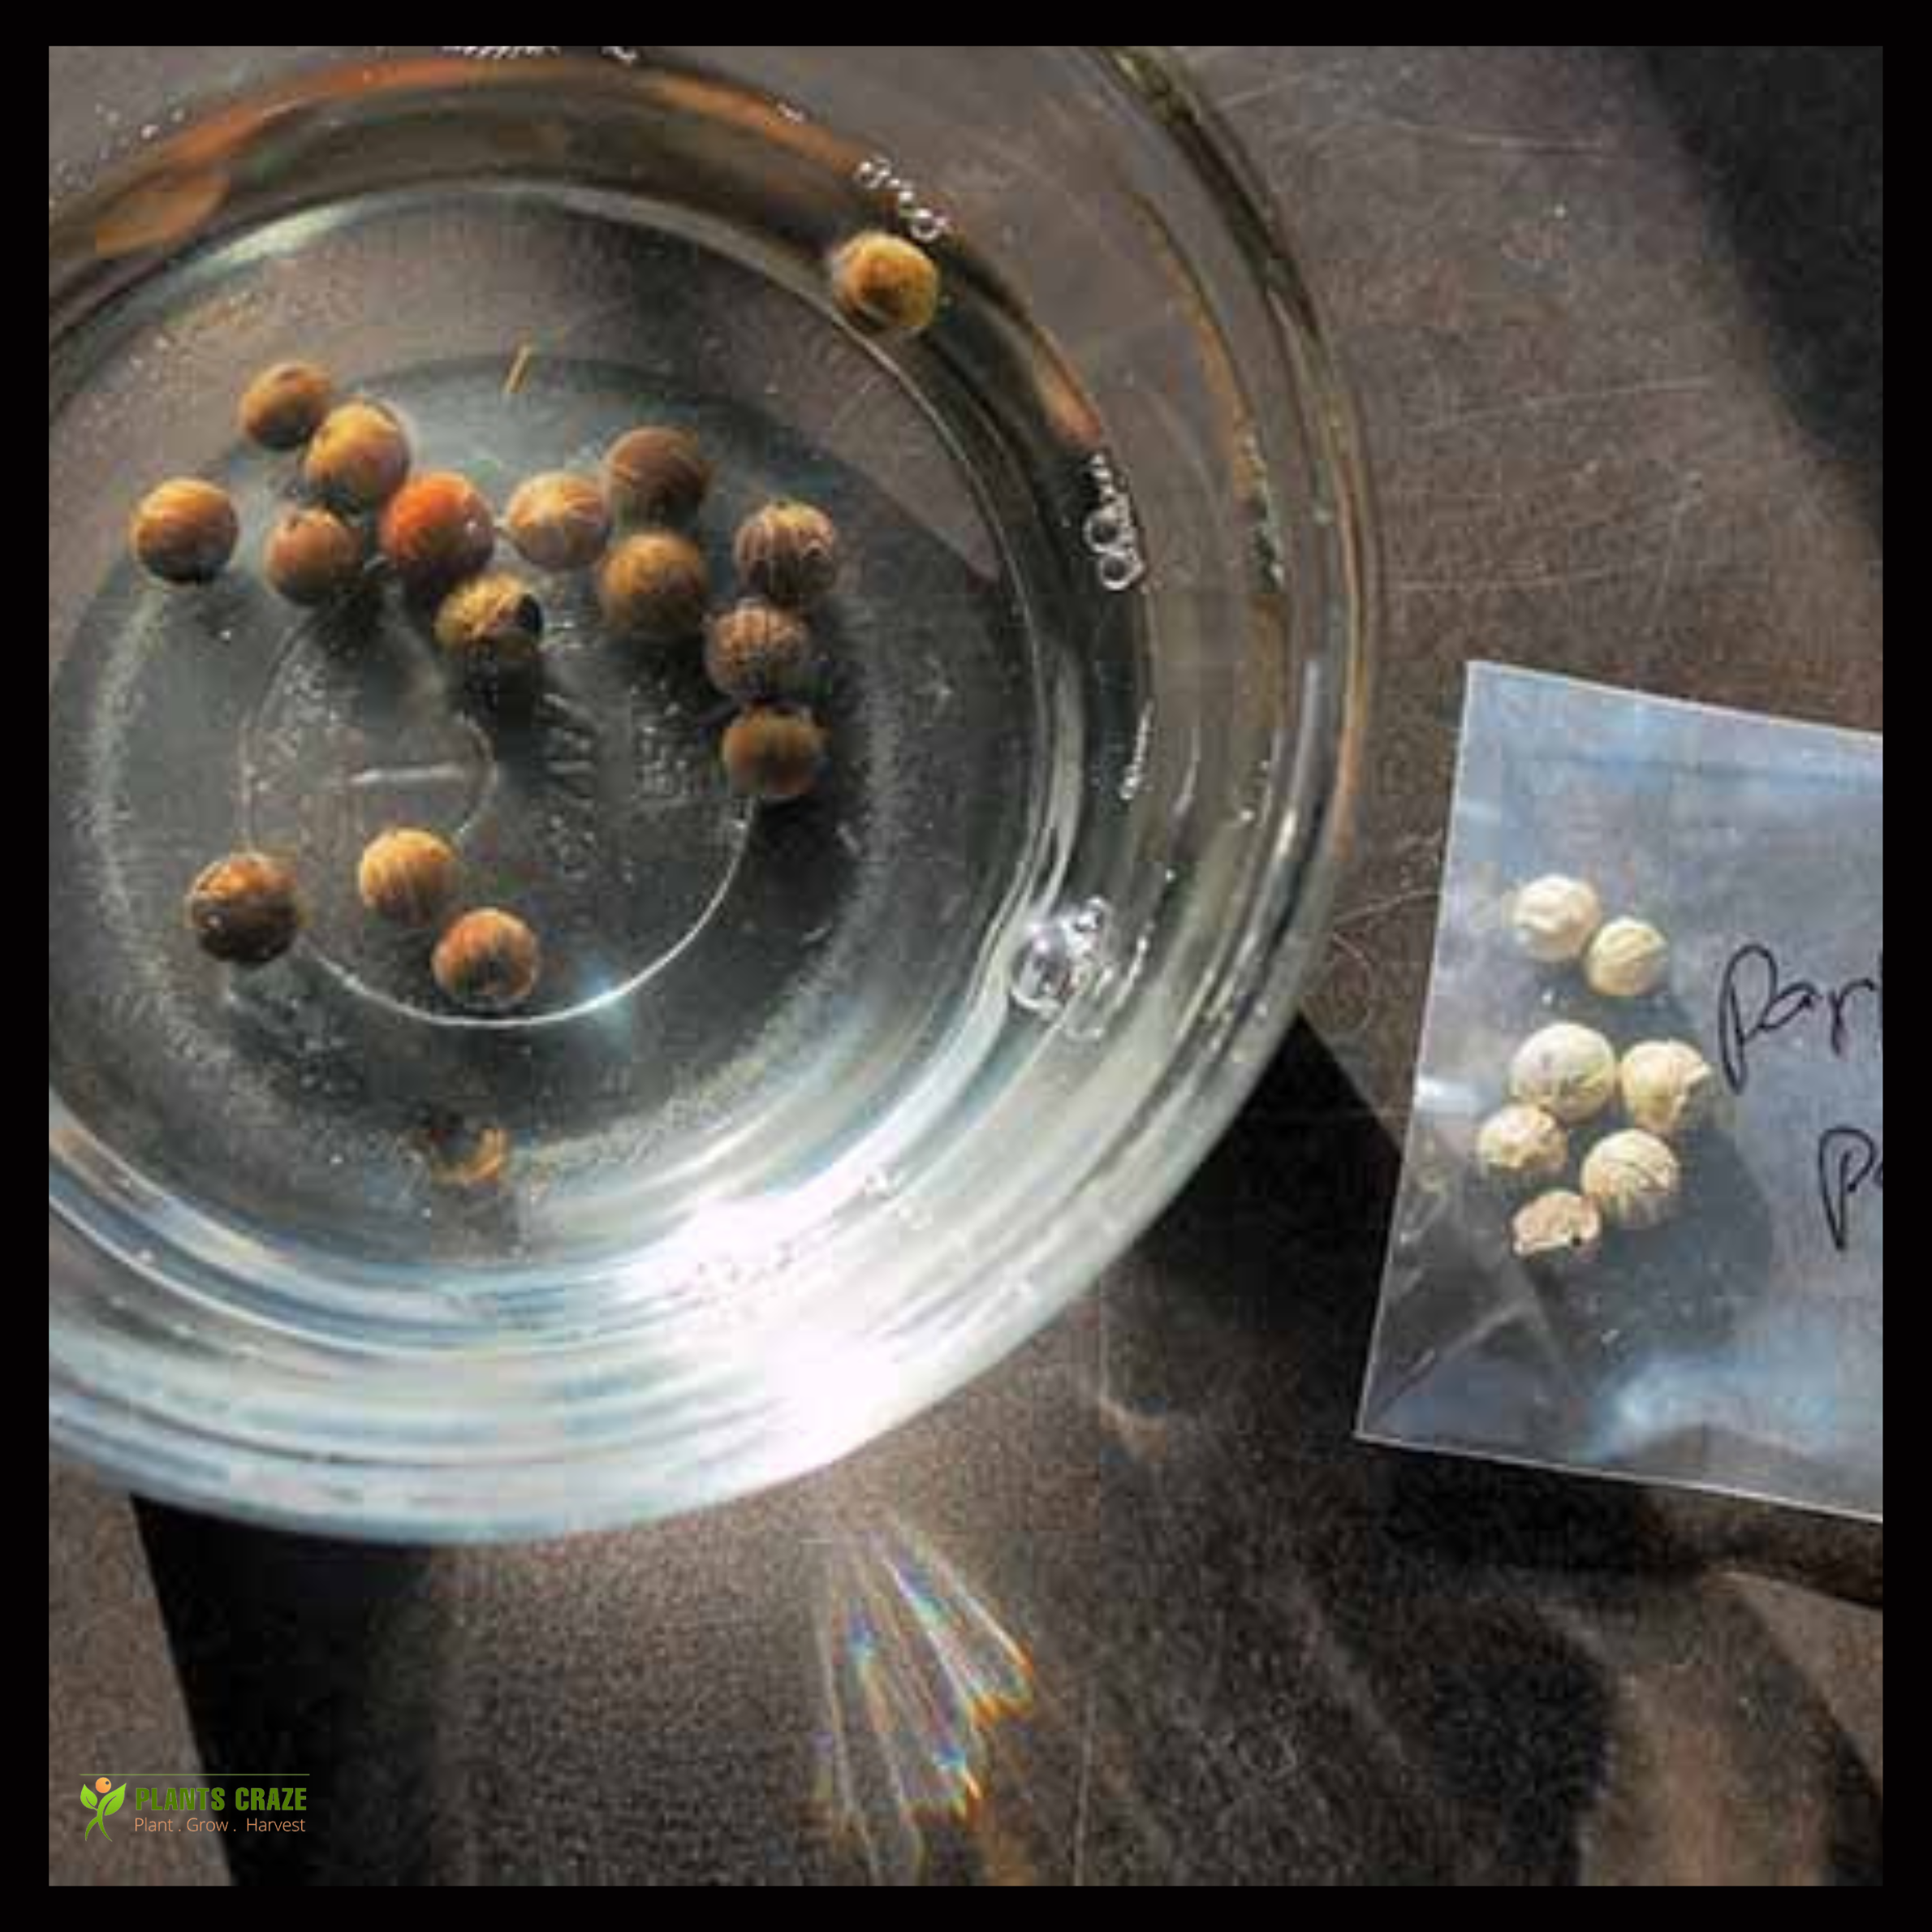
- After, place the fruits in a bowl filled with lukewarm water until it cools down.
- Gently rub away all the pulp with your fingers.
- Rinse with cold water to remove any residue from the seeds.
- Then, pat them dry with a paper towel and store them in air-tight jars.
You must sow the Parlor Palm seeds within 2-3 weeks following harvest, or they will lose germination viability.

Parlor Palm Seeds for Sale
Use the table below to purchase Parlor Palm seeds.
| Sites/ Shops | Delivery/ Shipping Period |
|---|---|
| Etsy | Within 3 to 9 days after placing an order |
| Amazon | Within 4 to 5 days after placing an order |
| Ebay | Within 5-9 days after placing an order |
| Sheffield's Seed Company | Within 3 to 4 days after placing an order |
How to Grow A Parlor Palm from Seeds?
Soaking the Parlor Palm seeds in lukewarm water for 1-7 days with a regular water change will raise the likelihood of germination.

However, you must also consider other requirements, such as light, soil potting mix, and sowing depth.
Similarly, moisture, temperature, and humidity are necessary to germinate the tough Parlor Palm seeds.
How to Propagate Parlor Palm Seeds?
Soaking the seeds will allow them to imbibe and activate the dormant embryo inside the hard shell.
1. Prepare the Parlor Palm Seeds
- If the seeds are ready for sowing, cracks appear on the coat, revealing a green underside after soaking.
- Take your seed out of the water and wrap them in paper towels for a few minutes until they are dry.
2. Prepare the Soil Potting Mix
You can use a Parlor Palm soil mix with proper drainage.
However, you can also prepare a DIY mix and begin sowing the seeds.
- Mix the above items: 2 parts peat moss + 1 part sand + 1 part organic perlite + compost soil.
- Then, sprinkle enough water to dampen it.
- You can now fill a seed starter tray with this potting mix.
3. Filling the Seed Starter Tray
- Fill the tray about two-thirds full, leaving an inch gap between the soil surface and the brim.
- Use your hand to tamp the potting mix but keep it fluffy and aerated.
- Ensure that the pH of the mix stays between 5.5 and 7.
4. Sowing the Parlor Palm Seeds
- You can sow at least 3 seeds per cell as all the seeds might not be viable.
- Keep at least 2-4 inches gaps between the seeds.
- Plant the seeds about 3-6 mm deep in the potting mix and lightly cover with sand.
- Place a humidity dome with ventilators over the starter tray. Ensure the humidity settles between 40-60%.
- Now, situate the entire set-up in some place warm such as on a heating pad maintained at 25-30°C.
5. Potting the Parlor Palm Seedlings
You may notice seedlings emerging from the potting mix within 10-42 days.
However, let the seedlings grow and transfer them to a 6 inches wide and deep terracotta pot.
- Open the humidity dome ventilators to maintain air circulation once the seedlings extend 1-2 sets of true leaves.
- Place a layer of pebbles at the pot’s base and fill a desired pot one-third with potting mix.
- Remove the seedlings from the trays, along with the root ball, and hold them at the center of the pot.
- Add the remaining potting mix from the sides and water it gently to keep it damp.
- Consider potting a month after germination when the feeder roots grow about 1-2 inches long.
- Keep the temperature and humidity as it is with 8 hours of curtained sunlight from an east-facing window.
The seedlings may seem droopy at first due to transplant shock. You will see it perk up again soon!
Care for Parlor Palm Seedlings After Germination
- Situate the seedlings below a shade net to avoid direct sunlight.
- To avoid frost damage, keep the soil temperatures above 10°C.
- Offer diluted balanced fertilizer blend once the seedlings get 3-4 inches tall.
- Watch out for pests and diseases, and cast them off using neem oil spray.
From Editorial Team
Conclusion!
Pay attention to the cues of seed harvesting, such as the stem color and direct seed sowing following harvest.
However, for prosperous seedling growth, you must bathe the seeds in lukewarm water to tempt them for germination.