I recently bought a few Salvias for plating them in my garden. I was doing everything right, but still, my Salvias started flopping.
Like any plant lover, I was distressed about this whole situation until my brother told me about fixing floppy Salvias.
I know the above information is insufficient for you to act upon your floppy Salvias.
Therefore, let us jump into greater detail and find out tips to fixing floppy Salvias.
Table of Contents Show
Tips for Fixing Floppy Salvias
Salvias make great hedge plants thanks to their invasive growth and beautiful blooms.
As a caring plant parent, you would not want to see your plant lose its composure and start looking floppy.
Salvias can get floppy for different reasons like improper watering, inadequate sunlight, low humidity, temperature extremities, pests and disease attacks, etc.
But fret not! You can dive into fixing floppy Salvias and revive them by following the below instructions.
Let’s look at methods for fixing floppy Salvias in detail below.
1. Provide Appropriate Watering
Watering is one of the most important factors in the growth of Salvias.
Any watering anomalies, whether underwatering, overwatering, or poor water quality, can hinder Salvia’s composure and make it floppy.
For instance, Salvia doesn’t prefer soggy soil. The plant will be unable to breathe properly and may flop due to too much moisture in the roots.
Similarly, an underwatered Salvia cannot absorb the necessary amounts of water, oxygen, and nutrients, which may cause the plant to become floppy.
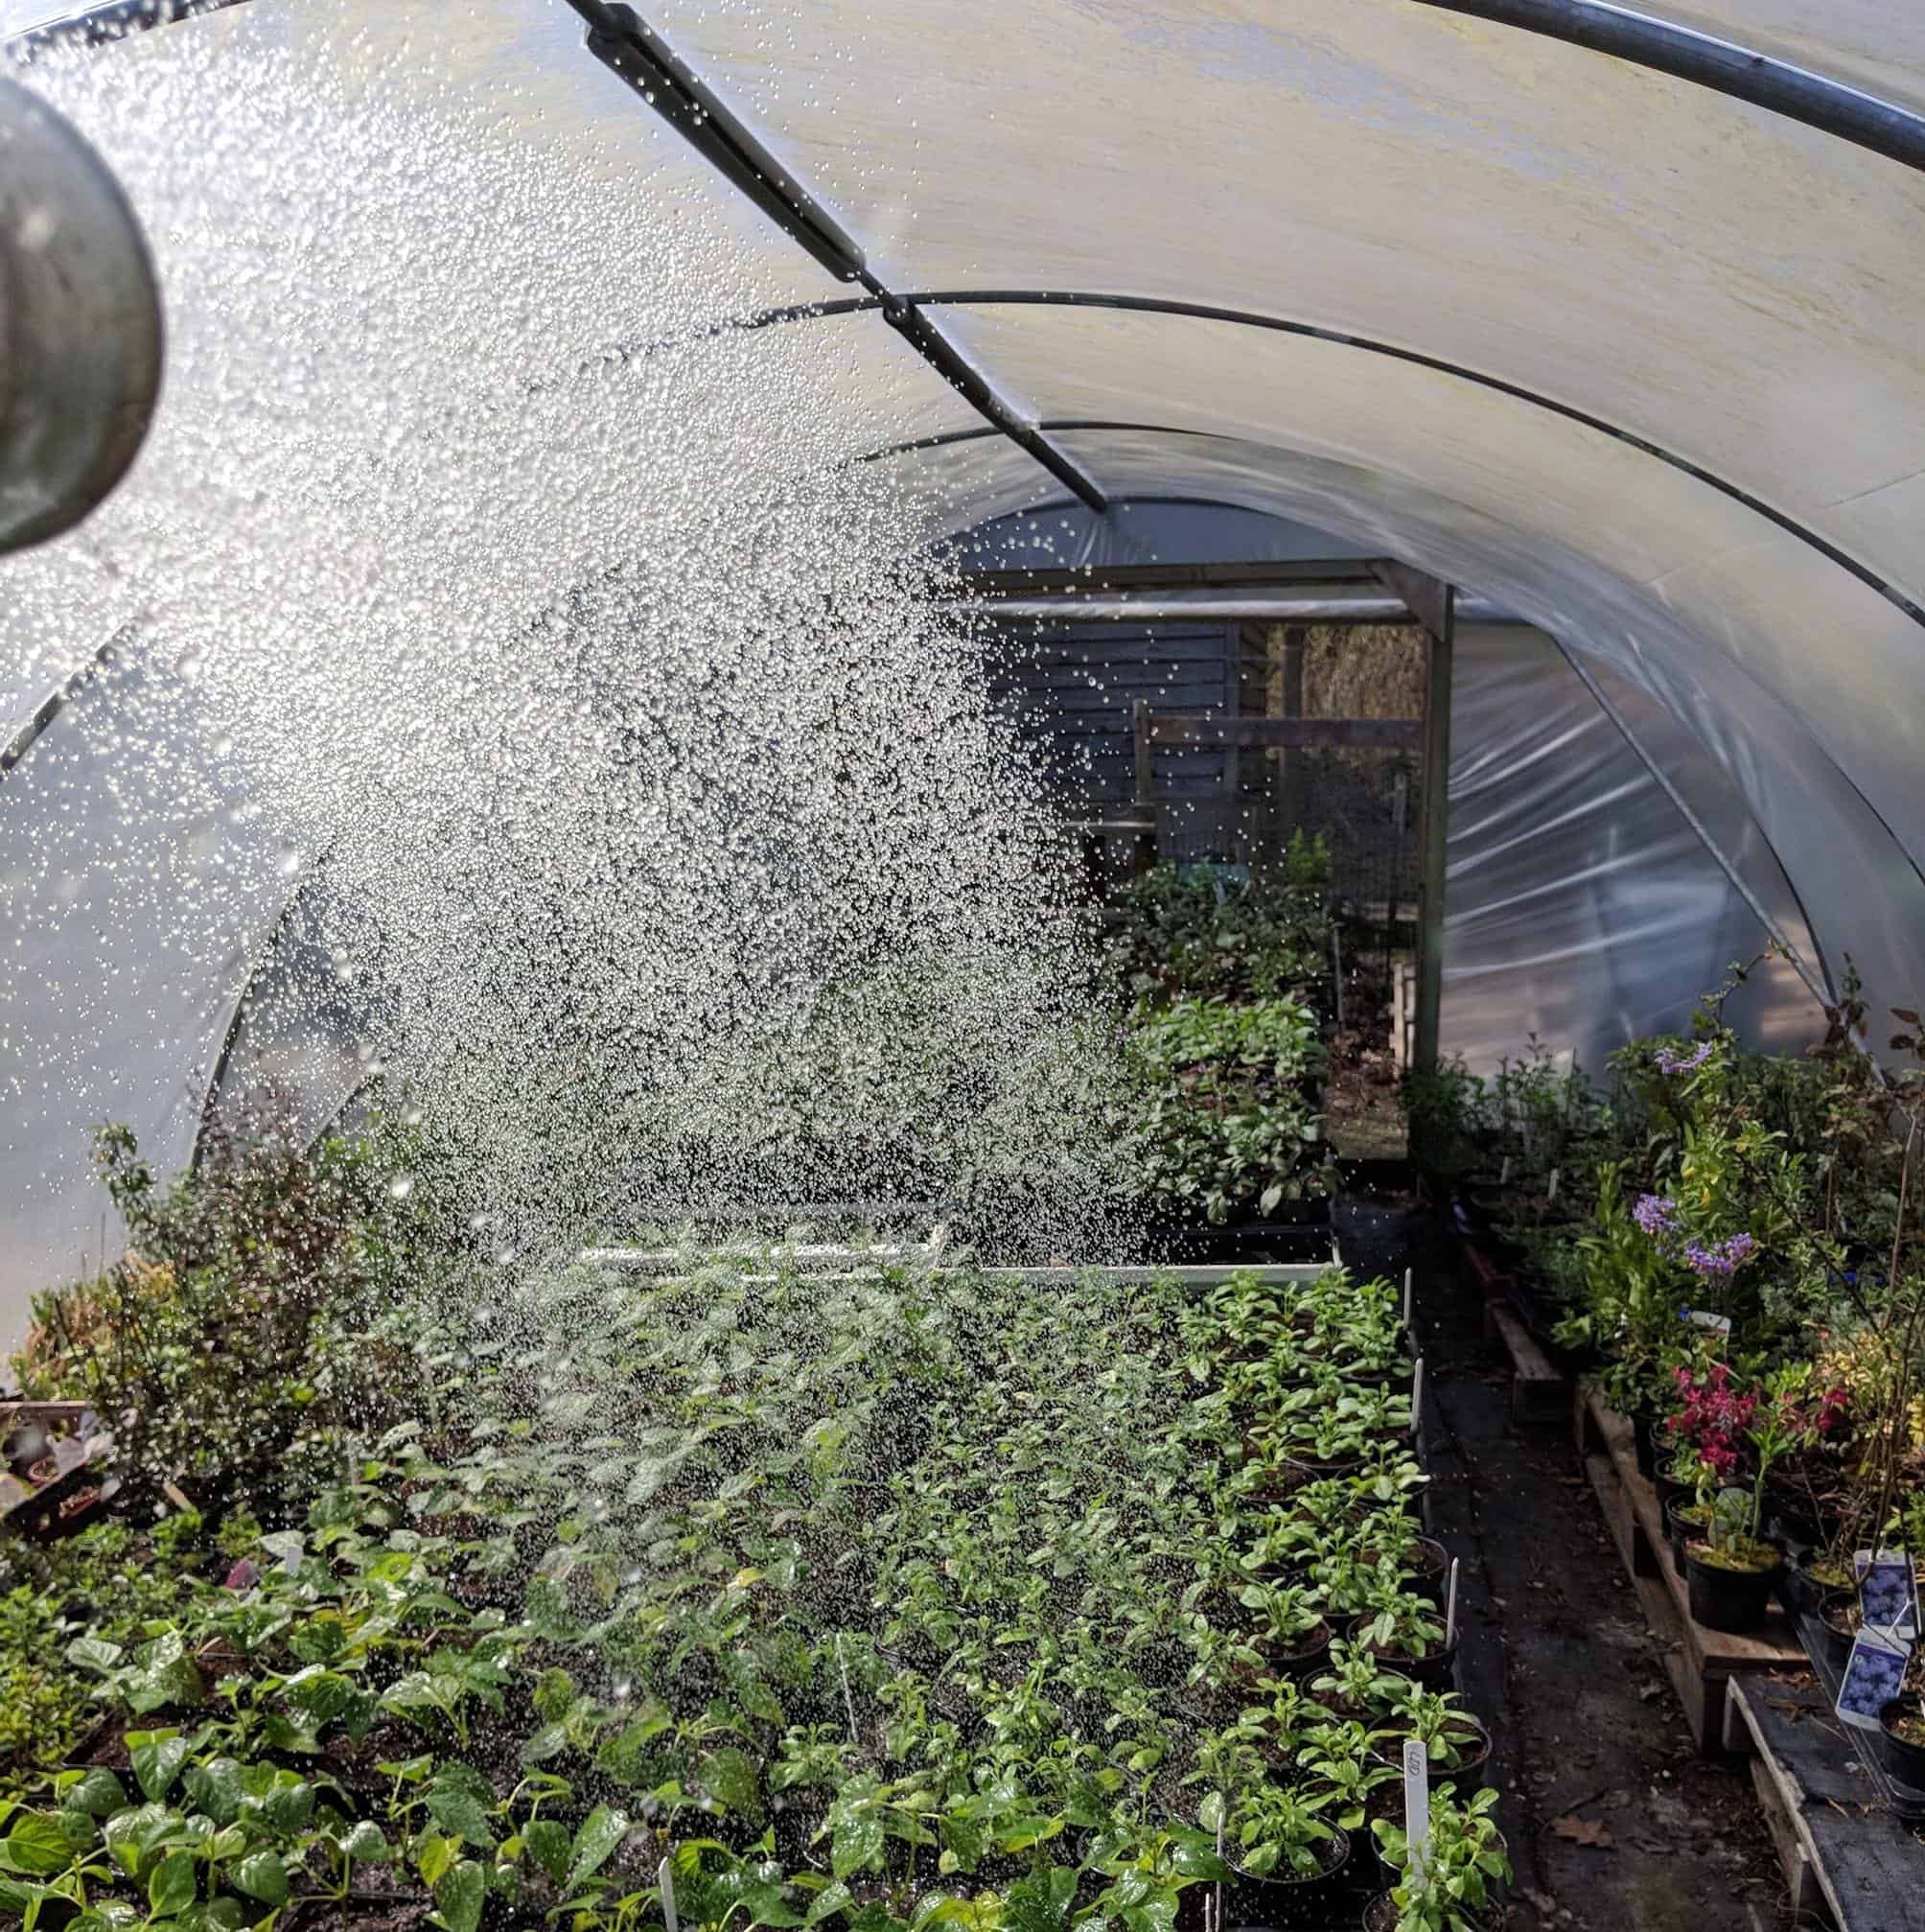
Therefore, you need to water your Salvia with 1-inch water every seven to ten days, with distilled or rainwater.
Moreover, poor water quality gradually increases the amount of salt on the soil surface and thus hinders nutrient uptake.
So, all of the above causes your Salvias to flop, along with other symptoms such as stunted growth, leaf edges and tips turning brown, falling leaves, and so on.
Follow the tips below to revive your floppy Salvia.
Immediate Steps to Revive Overwatered Salvias
- Stop watering and check your Salvias for signs of root rot. If the roots are mushy and brown, trim off the affected parts.
- If the rot has spread beyond repair, you can discard the plant as a whole.
- Prepare a fresh potting mix and repot your Salvia in the new mix.
- Lay down a newspaper and place the plant with the rootball in it. Let it dry overnight.
Immediate Steps to Revive Underwatered Salvias
- Drench the plant immediately with distilled water and move it to shade.
- Fill a tub with water and soak the entire pot in it until the bubbles stop forming.
- Set the plant aside and let the water drain for some time. After that, shower it with water until the water drips out of the drainage hole.
Before watering the plant, you can use a soil moisture meter to check the soil’s moisture level.
Anything above 8 indicates that the plant has been overwatered, while anything below 4 indicates that the soil is dry.
2. Provide Enough Sunlight
Being a good flowering plant, Salvias prefer to be in full sun for about 6 to 8 hours daily.
However, when the plant’s light requirements are not met, it becomes floppy and shows signs of stress.

Salvia’s ability to perform photosynthesis, metabolic processes, and carbon and nitrogen fixation may be impaired by inadequate sunlight.
Moreover, inadequate sunlight may cause Salvia to grow leggy in search of more sunlight. As a result, the plant can no longer support its excessive growth and gets floppy.
Being a full sun lover, the Salvia plant takes no particular damage from too much sunlight.
However, I suggest you provide some shades in between to keep your plant from getting scorched.
Other signs of inadequate sunlight for Salvias include limp and droopy appearance, loss of foliage color, no flowering, etc.
Immediate Steps to Revive
- Make sure no shades are between your Salvia and direct sunlight.
- Move your potted Salvia to a location where it comes in contact with direct sunlight.
- Place your plant under grow lights for about 14 hours in case of low light conditions.
3. Protect from Temperature Extremities
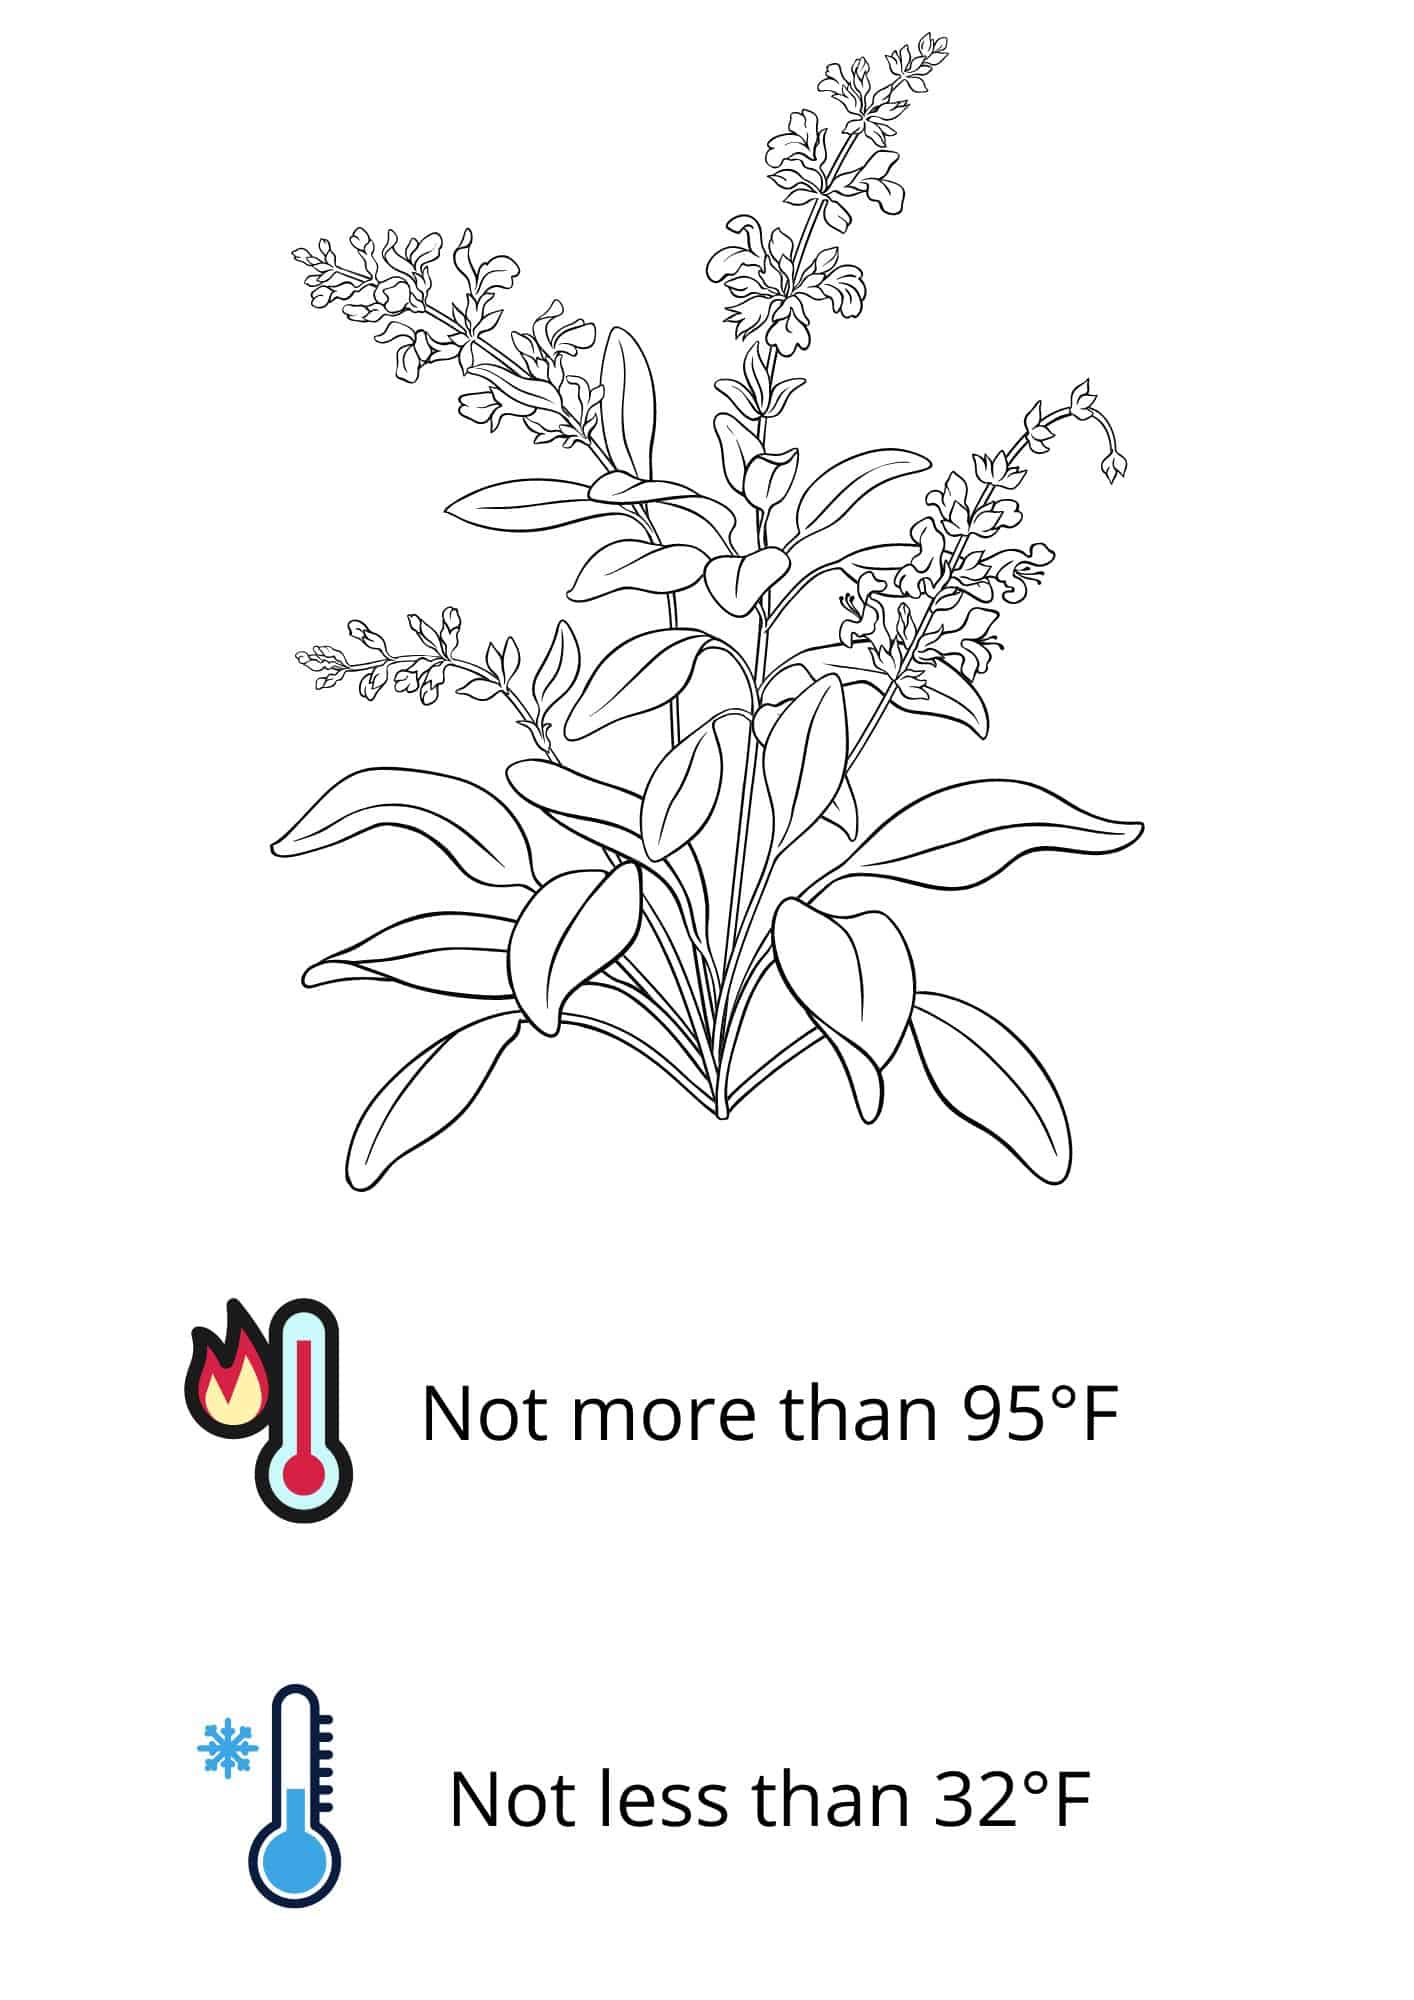
Salvia prefers warm temperatures; therefore, keep your plant between the temperature range of 60 and 75°F.
However, Salvia becomes floppy once the temperature falls below 32°F or rises above 95°F.
High temperatures cause the Salvia plant’s leaf moisture to evaporate more quickly. Meanwhile, low temperatures may cause the leaf cells to freeze, limiting nutrient uptake.
Furthermore, extremely high temperatures can cause stunted growth and loss of plant foliage colors.
While low temperatures can lead the plant to curl its leaves, have brown foliage, wilted appearance, etc.
Immediate Steps to Revive
- If your Salvias are in a pot, immediately move them indoors to reduce the cold damage.
- In high temperatures, mist your plant regularly to negate the damage due to moisture loss.
- Cover your plant with frost blankets and mulch them with tree bark to prevent extreme heat loss.
- Trim back the foliage to let the plant conserve energy during harsh weather.
4. Maintain the Proper Humidity
Beautiful flowering plant, Salvia thrives in moderate humidity. Therefore, you must always maintain the humidity above 60% for healthy growth.
If the humidity drops below their preferred range, Salvias will display signs of stress and look floppy.

In low humidity conditions, the plant closes its stomata to conserve moisture, causing photosynthesis to slow and the plant to suffer damage.
Other symptoms of humidity depletion include curling and browning of leaves, leaf scorch, leaves and stem wilting, etc.
However, no matter how much the humidity increased, my Salvia showed no significant damage.
Let us see the quick revival tips to bring your floppy Salvias back to life.
Immediate Steps to Revive
- Immediately mist your Salvias to provide the plant with its required moisture.
- For indoor potted Salvias, move them to the kitchen or bathroom where the humidity is on the higher side.
- Place a humidifier in the room to boost the humidity levels for Salvias.
- As a low-budget option, you can place a pebble tray near the plant to maintain its humidity.
5. Inspect the Roots and Transplant
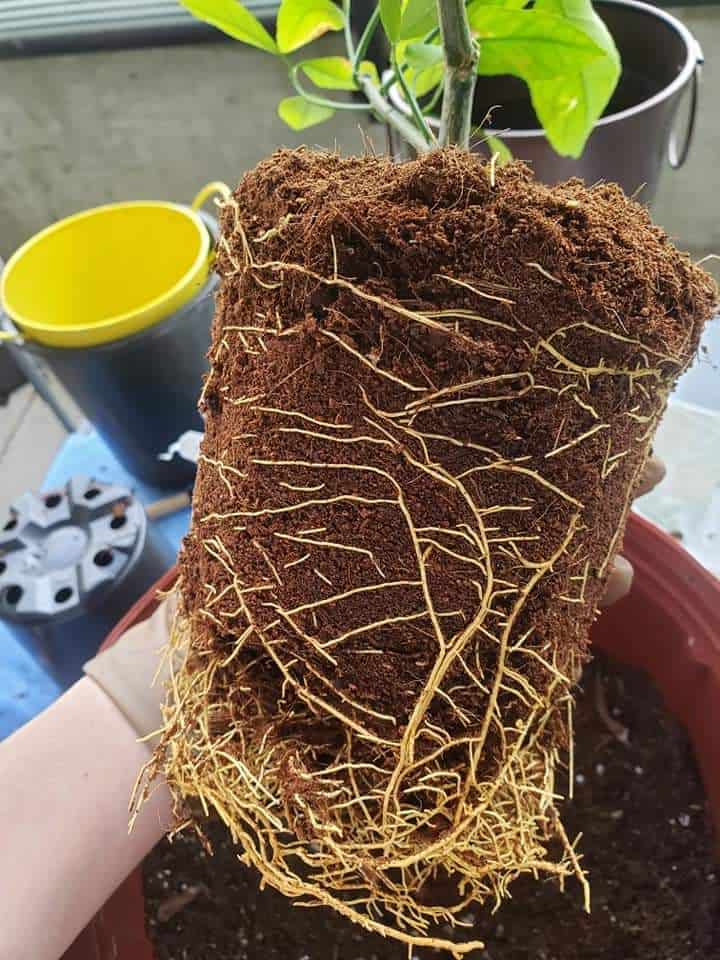
Some plants (like Salvias) grow rapidly, which causes their roots to tangle with each other. In such conditions, it is best to transplant this plant into fresh soil.
If you have a group of Salvias growing in your garden, their roots will most likely intertwine, causing the plant to become floppy.
When Salvias become overcrowded in the garden, they compete for soil nutrients, limiting nutrient uptake.
Salvia gardeners prefer to transplant their Salvias to new soil every now and then.
Immediate Steps to Revive
- Take a gardening fork or a shovel and dig out the Salvia from the rooted area.
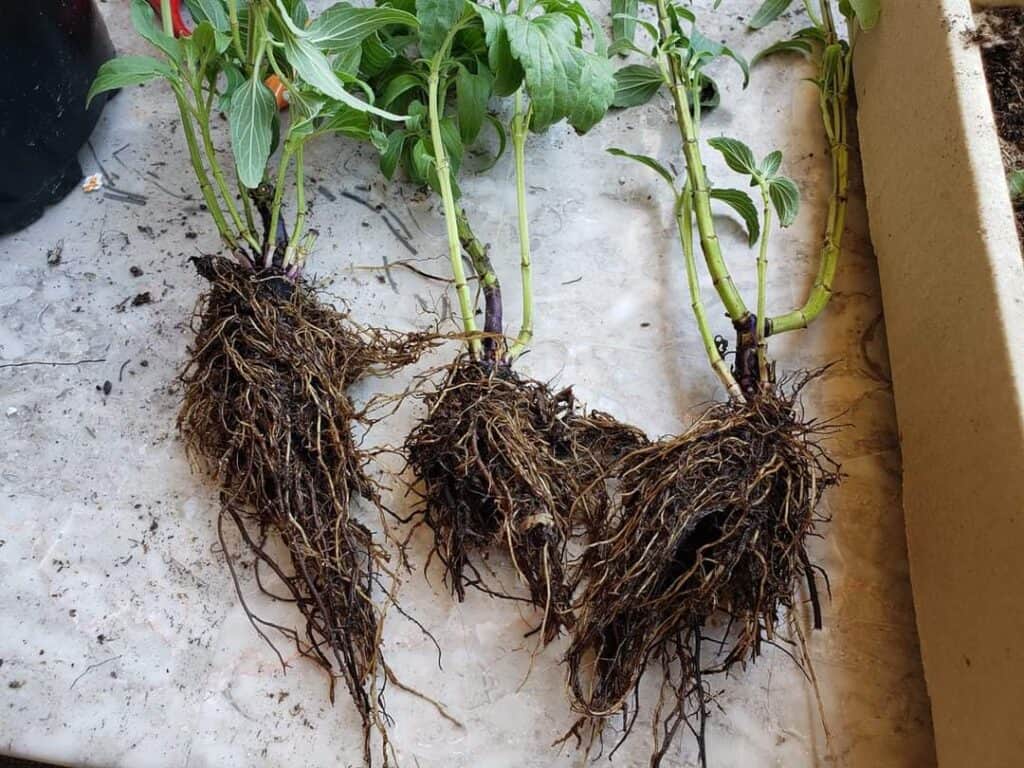
- Inspect the root carefully. If they are tangled, separate the roots.
- You can also divide the roots and plant them individually. Use your hands to separate them.
- Plant them in fresh garden soil, a few feets apart from one another.
- If your potted Salvia has become rootbound, repot it to a larger container in a fresh potting mix.
6. Watch Out for Tiny Pests
Salvia’s tasty leaves and tasty, juice-filled flowers attract tiny pests, which are harmful to the plant.
Certain pests like spider mites, aphids, lace bugs, and mealy bugs feed on the saps of Salvia and contribute to their floppy appearance.

Although these pests attack the leaves and stems, the whole plant can take a toll.
Let us look at what threat each pest poses to the plant.
| Type of common pests | Symptoms of Infestation |
|---|---|
| Mealy Bugs | Leaf fall, Deformed leaf growth , Yellowing of the leaves |
| Spider Mites | Discolored appearance, Curled under looks, Spotty surface |
| Aphids | Turns the leaves yellow and attacks the new growths |
| Lace Bugs | Leaves lose colors, bleaching and pale stippling occurs. |
Immediate Steps to Revive
- Isolate the plant away from other healthy plants to avoid spreading infection.
- Take a cotton swab, dip it in rubbing alcohol, and rub it on the infected parts of the plant to eliminate mealybugs.
- Wash your leave and the soil surface with a water hose that has a strong force.
- Insecticidal soap and neem oil are other effective options known to eliminate pests.
- If the pests are big enough, you can scrape them off using a blunt knife.
- Prune off the damaged and infected parts of the plant if they are beyond repair.
Learn more about identifying the insect eggs on leaves and treating the pest infestation.
7. Treat Fungal and Bacterial Diseases
Throughout its growth, Salvia can suffer from fungal diseases like powdery mildew, botrytis blight, stem and root rot, etc.
These diseases can affect the plant’s stem and leaves, causing it to lose its composure and eventually appear floppy.
Fungal and bacterial diseases are the by-products of overwatering, excessive humidity, excessive fertilization, pest infestation, etc.
Let us look at the various diseases and their effect on the plant.
| Diseases | Effect on the Leaves |
|---|---|
| Botrytis Blight | Yellowing of the leaves with black or brown spots on the surface |
| Powdery Mildew | White patches appear on the leaves, fruit or stem |
| Downy Mildew | White to grayish-purple, fuzzy fungal growth under leaves |
| Corynespora Stem Rot and Leaf Spot | Black spots appear on the stem and leaves of Salvia |
| Rhizoctonia and Pythium Root Rot | Leaves turn yellow and wilt, stunted growth |
Immediate Steps to Revive
- Identify the infected parts and prune them off immediately to stop the spread of diseases.
- Isolate the infected plant from other healthy plants.
- You can use fungicides like Daconil to get rid of botrytis blight.
- Organic fungicides like sulfur, neem oil, and potassium bicarbonate are effective against powdery mildew.
- Sadly, fertilizers that contain iprodione are the only known treatment for Corynespora Stem Rot and Leaf Spot.
- Avoid using fertilizers that are high in nitrogen.
- Drip irrigate your plant and maintain good air circulation for plants.
- Do not water the plant for a few days, and move it to an area with low humidity.
- You can dispose of the plant in the safest location if the diseases are incurable.
8. Abstain from Overfertilizing
Salvia provides you with a benefit: they are light feeders. So you won’t have to spend your hard-earned cash feeding these plants.
When you go overboard, you may feed your Salvia too much fertilizer, which causes the plant to appear floppy.
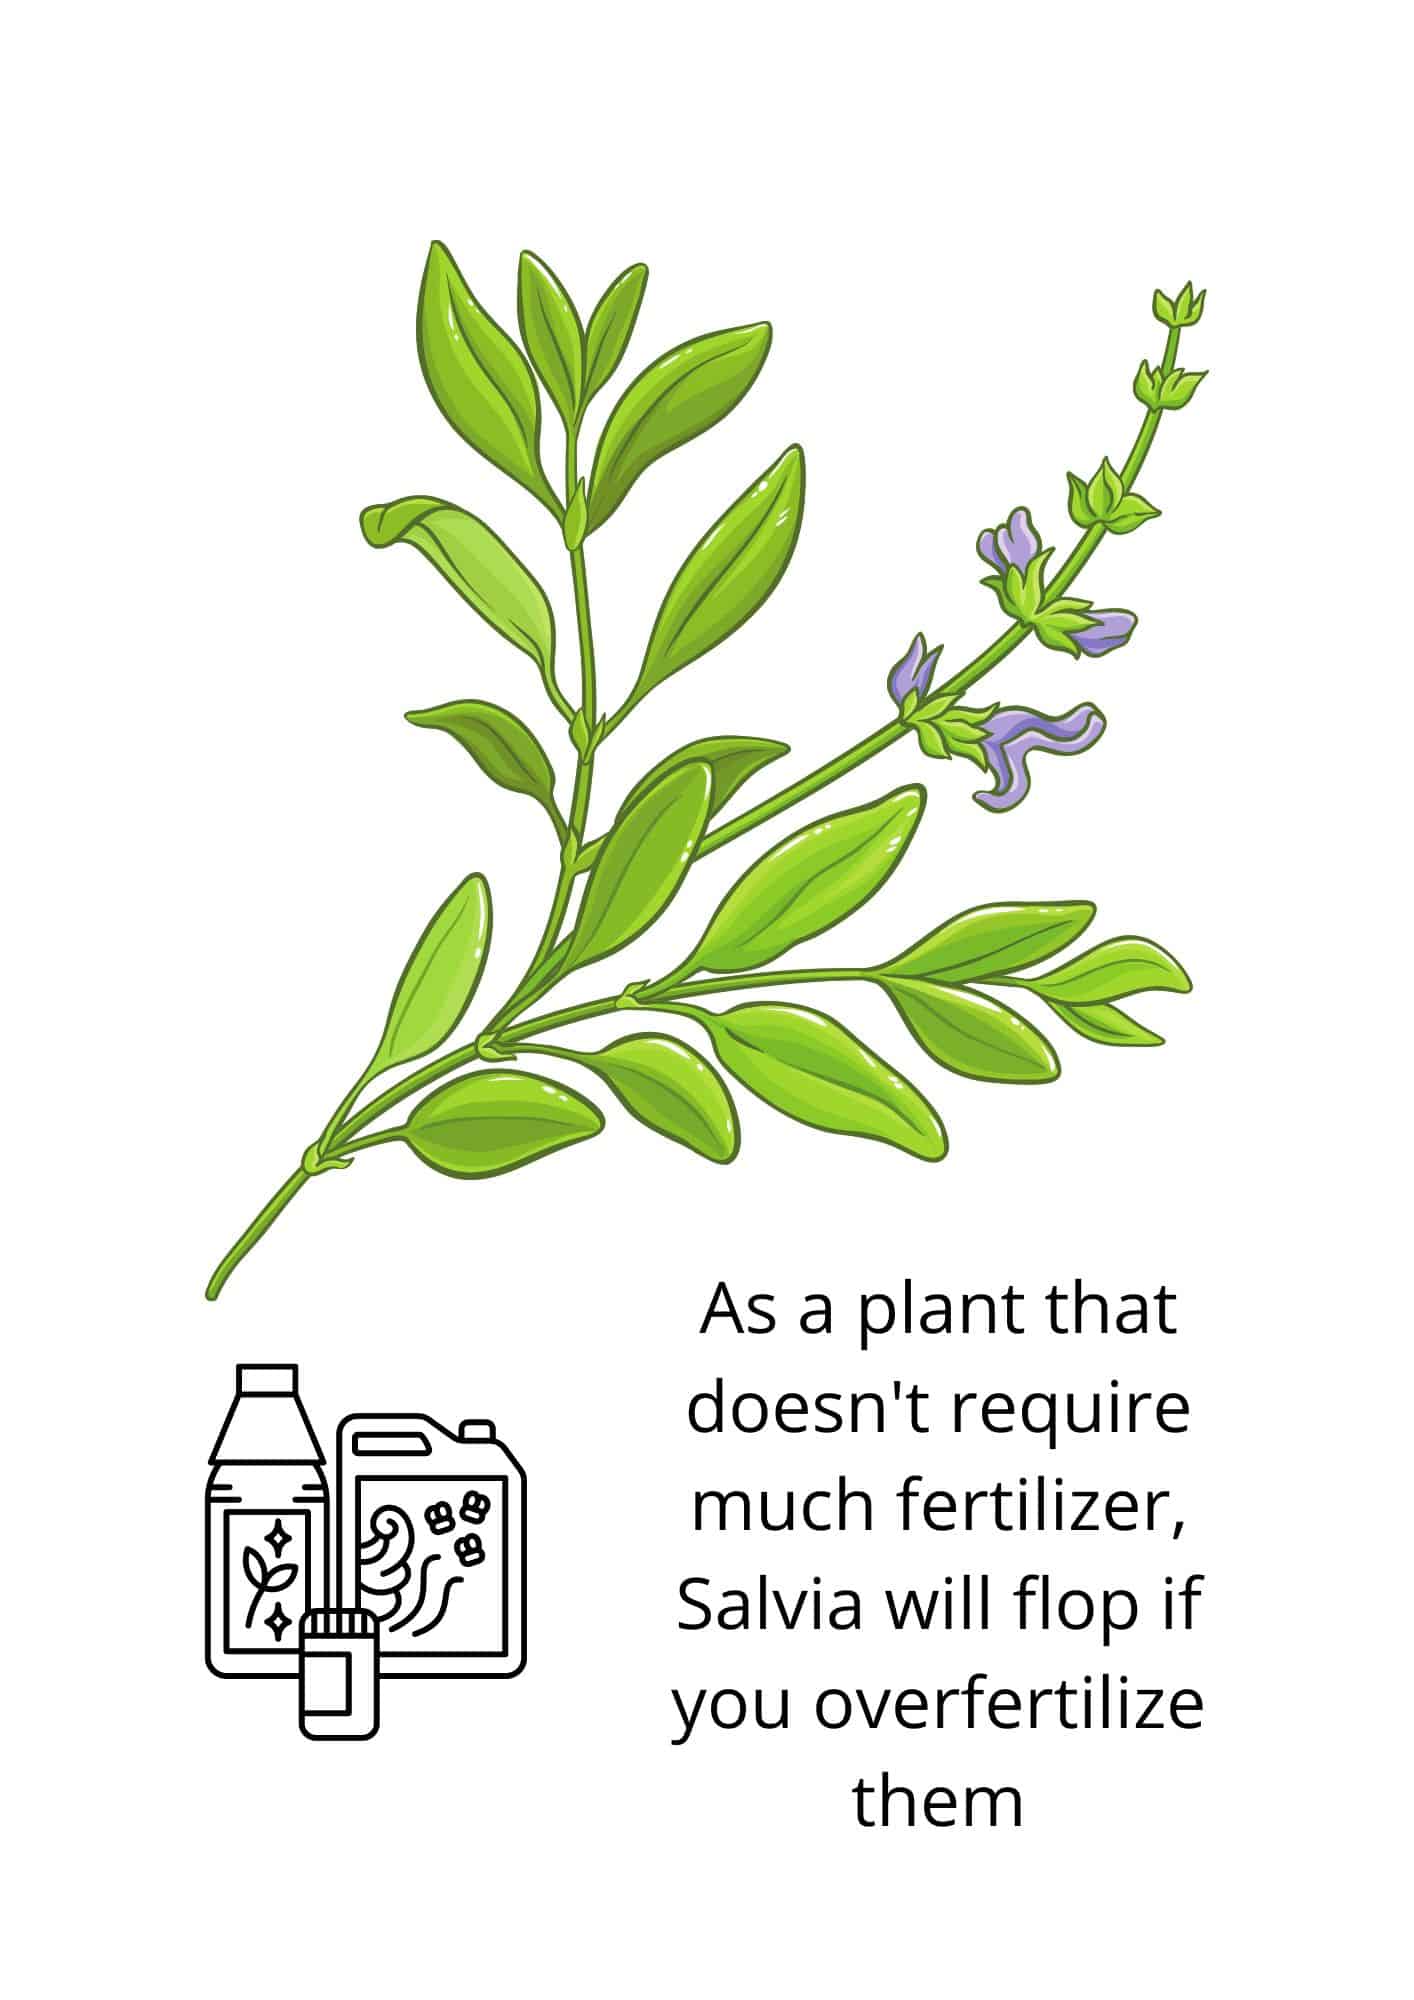
If you overfertilize your plant, salt residues can build up on the soil base, hindering the plant’s nutrients and water uptake.
On the other hand, under-fertilizing may not seriously threaten Salvia, given its light-feeding nature.
Other signs of overfertilization include wilting, burned-looking foliage, dry leaf margins, etc.
But do not worry; you may quickly save your Salvia and bring it back to life by following these immediate revival steps.
Immediate Steps to Revive
- Leach out the excess fertilizers and salt on the base of the plant by flushing it with water at room temperature.
- If the soil damage reaches the extremity, you must repot the plant to an entirely new pot with fresh potting soil.
- Remove the damaged and dead leaves and stem from the plant to let it conserve energy.
- You can take a spoon and remove the excess visible, dry fertilizer.
- Abstain from fertilizing the plant for at least a few weeks.
Moreover, you can apply a 1-inch layer of compost and shredded wood mulch in the spring to boost their growth and flower production.
Alternatively, you can use a slow-release flower food or diluted liquid fertilizer during their growing season.
How to Prevent Floppy Salvias?
Seeing your beautiful Salvia plant flop can be such torture to witness. So, if you could prevent that phenomenon altogether, you would do it any day, right?
See below for the experienced tips on preventing your Salvias from flopping.

- Ensure your Salvia stays in a location in your garden where it gets full sun.
- Water the plant with distilled or rainwater every week to ten days. Make sure you do not overwater them.
- Cut back the flowers as soon as they bloom to prevent the plant’s energy.
- To prevent damage, maintain an effective temperature range from 60 to 75°F for Salvia plants.
- Keep the humidity above 60% all the time for the Salvia plant.
- Prune these plants twice a year, first during spring and second during summer.
- You do not need to repot the plant frequently. Repotting once every four years is perfect for this plant.
- Moreover, you can also deadhead, stake, and prune your Salvias in case they get floppy due to the weight of their foliage.
- Wait until the late spring to prune Salvias because the foliage will provide some protection during winter frost.
Watch the video for more care tips,
Conclusion
Growing Salvia is already a challenge for any avid gardeners; if they start showing stress, you will find yourself busy fixing floppy Salvias.
So, as they say, prevention is better than cure; you need to be on your toes to look for the signs of any distress and act right away.
Follow the instructions above and let us know what you did for fixing floppy Salvias.
Happy Gardening!
After you have successfully grown Salvia flowers, you might want to learn how to deadhead the Salvia flowers.

