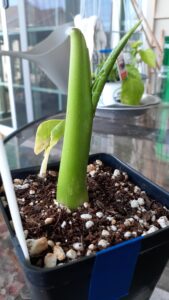
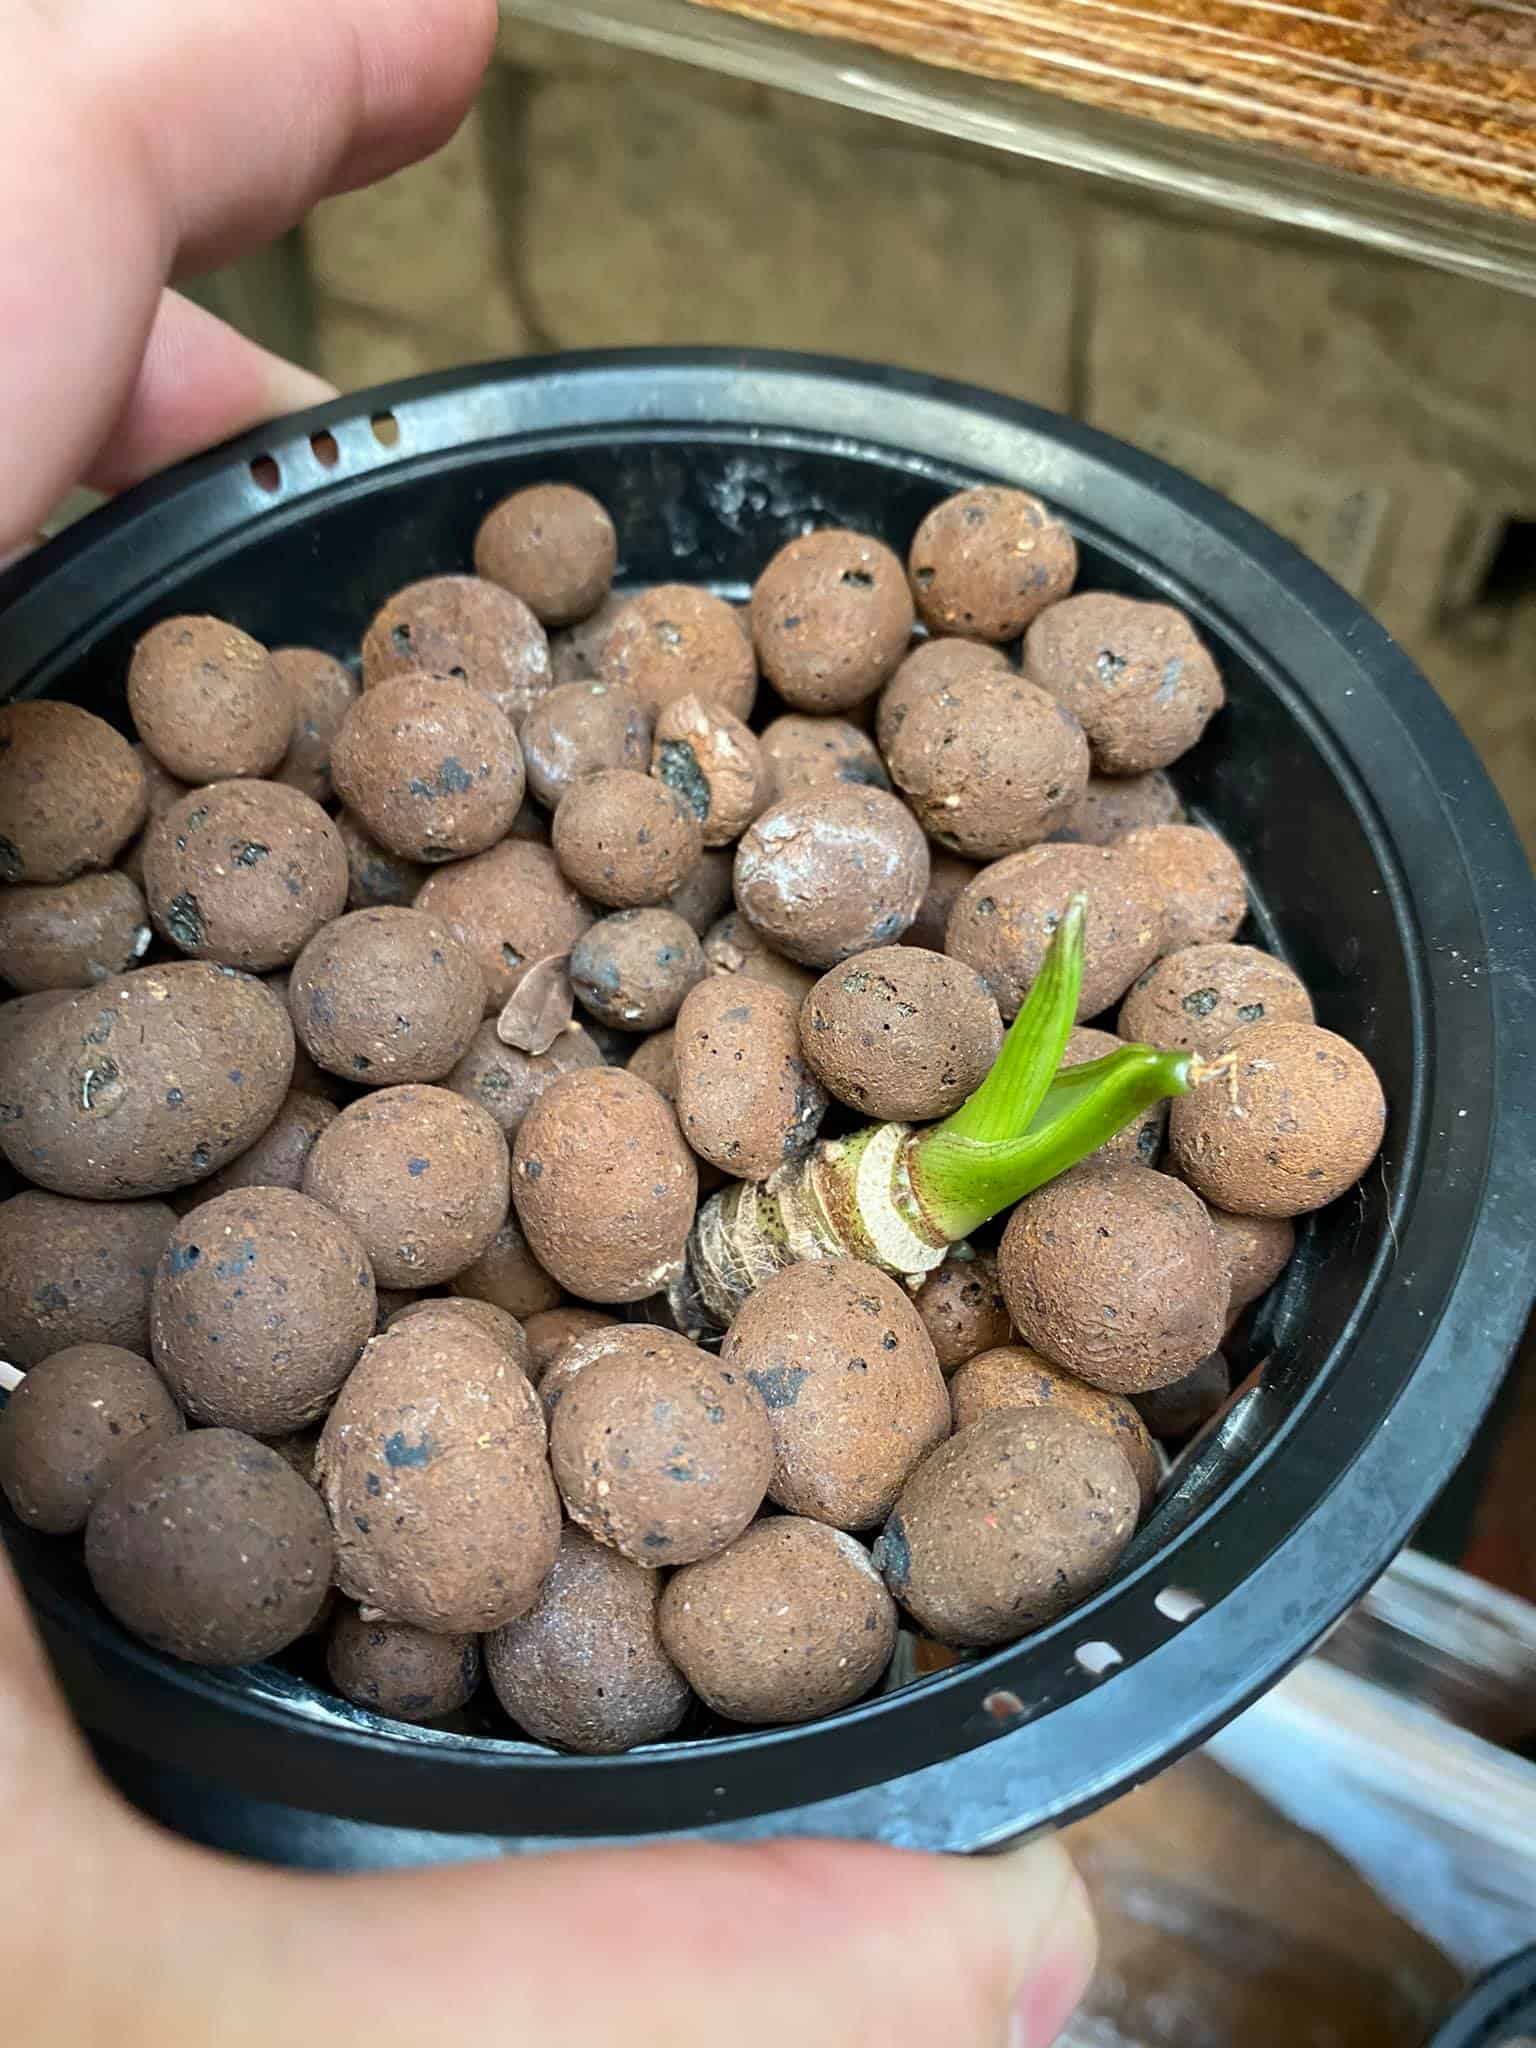
Alocasia grows clumping and often produces pups through rhizomes or bulbs.
These vegetative parts bless you with a new one.
Despite the easy propagation regime, care is crucial in its establishment. Let’s learn about it all.
Table of Contents Show
Reason to Propagate Alocasia
Alocasia is one of the vibrant house plants with over 97 different species. What gives Alocasia a stunning look is its large and broad leaves and distinctive veins that knit a beautiful pattern.
Besides being easy, new plant growth is more certain via propagation methods.
Moreover, these vegetative methods of populating a plant give offspring with the exact genetic characteristics of the parent plant.
And, rather than spending a few dollars every time you long for the plant, propagation easily fulfills the purpose with subsequent grooming of the existing old, large unmanageable plant.
Best Time to Propagate Alocasia
Belonging to the tropical rainforest of Southeast Asia, Alocasia finds comfort in warm, humid conditions.
Even if you plant bulbs in winter, they may survive adversity. But, a quick reminder, the plant might take a long time to adapt to a new environment or might die due to stress.
Mostly, they do not produce offshoots until their active growing phase.
Methods to Propagate Alocasia
Generally, offset division, bulb planting, and corms are three common ways to propagate the Alocasia plants.
However, use a glove before the process to prevent the toxic effect of calcium oxalate crystals in the Alocasia plant.
Further, here are all the materials required for propagation.
- Sterilized knife
- Rubbing alcohol or any other disinfectant.
- Clean pots
- Newspaper, old cloth, or towel
- Antifungal powder (Optional)
- Potting Mix
- Clear glass jar or vessel (Only if you are propagating in Water)
1. Propagating Alocasia by Offset Division
Generally, you will find a pup growing near the mother plant, emerging from the plant’s root.
A rapidly growing Alocasia looks heavily bushy surrounded by the offset, so removing them revives the plant’s aesthetics.
Pups more than 20 cm in height are what you need while propagating Alocasia by offset division.

- Take the Alocasia plant out of the pot and remove the excess soil.
- You will find the pups attached to the mother plant by the rhizome. Pull them apart with a small tuber and roots attached, or use a sterilized knife to cut them.
- Cover the cut tuber in antifungal powder (optional).
- Fill a pot with a suitable potting mix and plant the offset.
The offsets or clumps have their own established root, so you do not have to worry about rooting them.
However, the risk of damaging the mother plant is the only persistent demerit of this method.
Repotted plantlets may show signs of potting stress that regain strength once adapting to their new home.
Moreover, propagation through offset division is best for New Guinea Shield (Alocasia Wentii).
On top of that, some other aroid like Monstera (Swiss Cheese Plant) also prefer this way of propagation.
2. Propagating Alocasia by Corm
To find the corms, you need to loosen up the soil around the corms, and only the firm and mature ones are viable.
Further, you can also identify the mature corms by squeezing them. If it’s firm, then collect all those that easily detach from the roots and discard the mushy ones.
You can find 5 to 10 corms in a healthy mature Alocasia. However, the number varies according to species, environmental factors, and plant size.
- Place the corms with the root facing downward in a well-draining potting mix.
- Cover them using transparent plastic or glass to create a greenhouse effect.
- Provide bright indirect sunlight (6-7 hours) to the bulb for speedy growth.
- Mist the mix to keep the soil moist for root and shoot initiation.
- The sprout should emerge in about 3-8 weeks.
You can transplant the sprout in the soil, sphagnum moss, LECA medium, or water medium only after 2-3 true leaves appear.
But, it might take a few weeks to months for the sprout to attain a transplantable stage.
3. Propagating Alocasia by Splitting or Dividing Tuber
Tubers store nutrients and help the plant regrowth or new growth by providing the required energy.
You can use an old tuber for propagation unless it is not soggy and disease free. But, the method could check your patience as the rhizome takes more time to develop into a new plant.
- Take a sterilized knife and cut the long tuber from the mother plant with 1/3 part of the tuber intact, as removing all of it might stress the plant.
- Divide the rhizome or tuber into small pieces of about 2-3 inches each and apply antifungal powder to the tubers.
- Place the tubers in potting mix or sphagnum moss into a depth similar to the mother plants.
- The tuber will sprout after 2-4 weeks.
Uncommon Medium for Alocasia Propagation
A well-draining porous medium that retains enough moisture is ideal for propagating an Alocasia plant.
Most gardeners do not prefer experimenting beyond the traditional growing medium (soil and water), but the market has a few interesting substrates available.
1. Sphagnum Moss
Sphagnum moss locks moisture within, providing an ideal environment for the bulbs and rhizomes to sprout without any problem.
Moreover, there are fewer chances of humidity and watering-related problems while carrying propagation in sphagnum moss.
2. LECA Medium
The LECA balls promote aeration in the Alocasia plant’s root zone through the air pockets between the balls and prevent root rot.
The roots do not directly contact the water, which saves Alocasia from rotting.

Interestingly, you can use the LECA medium to grow your plants even for a long period when kept clean.
Take a bucket with balls and water, and wash the balls thoroughly. Repeat the process until the leftover water is near to clean.
Taking Care of Newly Potted Alocasia Plant
Generally, newly potted Alocasia needs more attention to adapt to the new environment, developing roots and shoots simultaneously.
So, provide them with an ideal care environment to favor growth.
On the contrary, Alocasia propagated via offset division, needs less pampering as they already have their roots and shoots.
Here is a quick summary of the favorable conditions.
| Parameter | Favorable Condition |
|---|---|
| Light Requirement | 6-8 hours of bright indirect light |
| Temperature Requirement | 65- 85 degrees Fahrenheit |
| Watering Condition | once or twice a week in summer and thrice a month in winter |
| Ideal Humidity | 50 to 60% of the relative humidity |
| Nutrition Requirement | Twice or thrice in growing season |
| Soil Type | Well-draining, light, porous and nutrient rich soil with pH 5.5-6.5 |
FAQs About Alocasia Propagation
Can I propagate Alocasia from cuttings?
Alocasia is a tuberous plant that propagates from tubers or central rhizomes.
Hence, it is generally not possible to propagate Alocasia from cuttings.
How do I save my Alocasia bulbs?
You can directly propagate harvested bulbs of Alocasia.
However, keep them in a warm, dark place wrapped in paper for prolonged shelf life.
Can I propagate Alocasia from the leaf?
Alocasia leaves are not capable of rooting as they do not have nodes.
Instead, they grow from the central rhizome, the primer method of Alocasia propagation.
From Editorial Team
Conclusion!
The propagated offsets, bulb, and tuber can be a meaningful gift to your friends and family.
Moreover, you can add a humidifier to fulfill the dampness that Alocasia craves and enjoy the lush green, velvety foliage with a purple-bronze underside.
On top of that, the regular care requirements like light, temperature, humidity, and soil for Alocasia are similar to the Calatheas.
