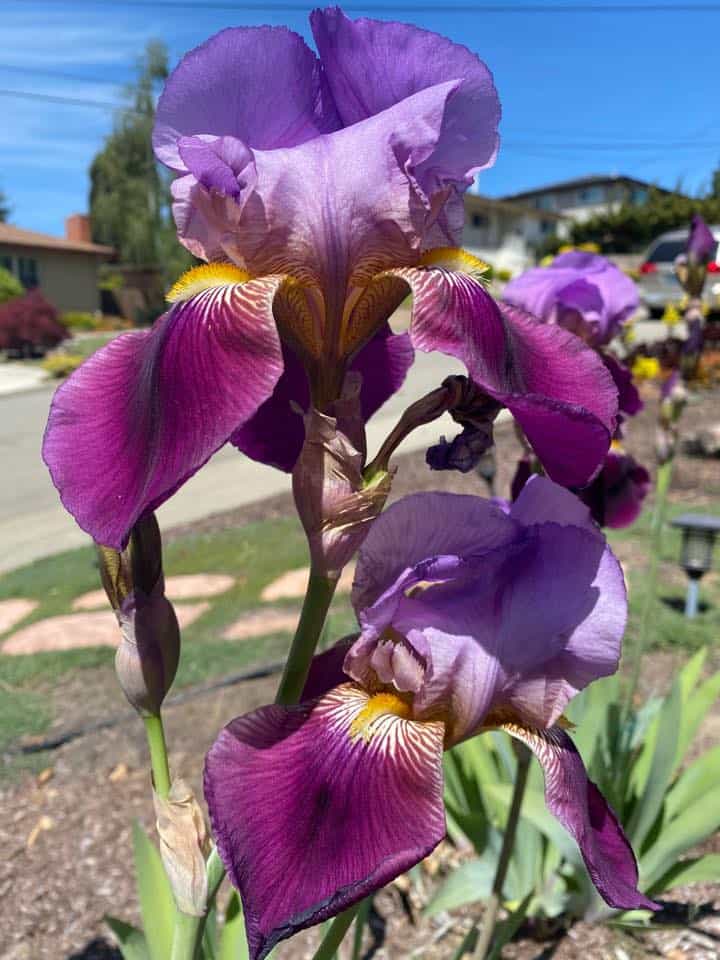
A sudden increase in pest population could be taking a toll on your beloved Iris plant. The situation demands an immediate solution by transplanting the Iris.
Table of Contents Show
Ideal Time for Transplanting Iris
Iris is a wonderful perennial plant from Zone 4 that is often the first to bloom during spring.
It takes almost two years to mature and produce blooms, while the flower lasts about two to three weeks.
However, to witness beautiful blooms and ensure that the plant grows full-fledged, you need to make sure that you transplant the Iris in time.

Be aware that you should not transplant the Iris in winter, as the soil is wet and the plant goes dormant.
You can extend the blooming period to about four weeks when you divide the plant at the right time.
Further, the Irises do not need another transplant for about 3 to 4 years once transplanted.
Fun fact: Iris was named after the Greek goddess of the rainbow, Iris.
Why Should you Transplant Iris?
Among the two types of Iris plants, Bulbous and Rhizomatous, the Rhizomatous Iris have thick underground stems, which can sometimes get crowded and hinder the plant’s growth.
In such cases, the Iris shows signs of distress and tells you when to transplant it.
- The number of flowers significantly decreases to no blooms in the plant.
- Rhizomes trying to stick out of the ground and tangled.
- The plant and flowers will grow around the crowded rhizomes but not on top of it.
- The number of pests significantly increases near the root area of your Iris.
In addition to reviving your plant, splitting the roots will give you a quicker way to divide it.
How to Divide and Transplant Iris?
The first thing you need to be able to do is to know how to identify rhizomes.
Rhizomes are the horizontal stems of the plant that have nodes. Unlike roots with ‘expanding’ growth, rhizomes grow perpendicular to the plant.
While dividing and transplanting, keep your and the plant’s safety in mind and use the proper tools and equipment. You’ll require a shovel, pruning shear, gardening gloves, and some rubbing alcohol.
Steps to Divide Iris Rhizomes
First, you need to get the rhizome bundle out of the soil using a shovel.
- Remove all the dirt around the rhizome.
- Grab the rhizome (having thumb-like thickness) at their two ends and pull, applying tensile strength.

- Use a knife to cut through the rhizome if it is too big and break it into more than two pieces.
- Discard the central, woody part of the rhizome completely and the borer-infected part.
- The preferred size of the divisions is from four to eight inches.
If you do not want to plant the rhizomes right away, wrap them in a newspaper or peat moss and store them for about 15 days until you are ready to plant them.
That said, the rhizome may lose moisture and nutrient necessary for the growth of a new plant when stored for a longer period.
You can also let your bulbs dry out. But make sure you give them a good soak before planting them again.
Steps to Transplant Iris Rhizomes
Gather the divisions you made and check whether they have some leaves and roots on them or not.
- Trim the leaves to the size of about 6 inches.
- Look for the perfect location to plant the freshly divided rhizome.
- Upturn the soil in that location and mix organic matter to the soil for increased yield.
- Use your shovel and dig a hole at least one inch bigger than the rhizome of Iris and plant the rhizome so that the top of the rhizome is exposed and peeks from the soil line.

- It would be helpful to create a soil mound to plant your Iris.
- While mass-planting, keep a distance of 1-2 feet between the planted rhizomes.
- Tighten the soil around the rhizome and water it thoroughly.
To give your garden a good look, you can plant anywhere from 6 to 25 Iris rhizomes, depending on the size of your lawn.
You need to follow the similar steps above to transplant Irises in pots. Ensure you use well-draining, fertile soil and place the pot somewhere sunny.
In about a week or two, you will witness a new leaf sprouting at the center of your Iris.
Moreover, smaller rhizomes take about two years to bloom, while larger rhizomes take much less time.
Caring for Iris After Transplanting
After transplanting the Iris, the plant may appear droopy for some time, but it should get back to its happiest form once it adapts to the new home.
The following care should be provided to make it easy for plant growth.
- Water the plant regularly before it produces new growths. After that, water it sparingly. You may opt for bottom watering.
- Clean your garden regularly to stop the Iris borers from completing their lifecycle.
- Trim the transplanted foliage to soil level and let it grow at its own pace.
- Ensure your plants get at least 6-8 hours of full sunlight for proper growth and bloom.
- Keep the humidity around your plant to 40 to 50% for proper growth.
- Plant your Iris divisions in neutral to the acidic, well-draining, and fertile soil.
- Avoid using chemical fertilizers in your plants to prevent wilting. Instead, use organic alternatives.
Iris is at high risk from the Mosaic virus. As there is no treatment for the virus, you better prevent your plant from getting affected.
From Editorial Team
To keep Iris’s allure, you must recognize when they require a good rhizome division and seize the opportunity.
Just ensure not to overdo the watering, or the rhizomes will rot.
